Food makes an excellent subject for still life photography, and you can achieve some incredibly artistic results. But great food photography means more than just snapping what’s on your dinner plate. Just like any other photography genre, there are certain rules that you need to follow to make the most of the stunning colors, textures, and shapes. In this tutorial, you’ll discover 13 simple yet highly effective tricks for taking beautiful and tempting food photos with your iPhone.
1. Shoot In Natural Light
Light is the key to creating beautiful still life photos. Always shoot your food pictures in natural daylight rather than under artificial lighting.
If you illuminate your food with an artificial light such as a lamp, it’s likely to create an ugly orange or yellow color cast in your photo.
Color is extremely important in food photography as you want the colors of the food, plates and background elements to appear accurate. You don’t want your white rice, white plates, or white table cloth to look orange.
Color casts from artificial light will ruin the natural beauty of your subject, but daylight provides a much more neutral colored light.
The best kind of light for food photography is soft, diffused, natural daylight. When the weather is warm, you could try photographing your food outside.
However, in most cases, you should avoid shooting in bright sun as it can cause exposure problems and cast harsh shadows on your subject.
Overcast days are perfect for food photography because the clouds act like a giant diffuser, creating a soft light with more subtle shadows.
When you’re shooting indoors, use the natural light from windows to illuminate your subject. Having a table positioned near a window allows you to easily set up your composition to make use of natural window light.
2. Take Control Of The Shadows
Shadows are very important in photography, and they can make or break an image. Sometimes shadows enhance a photo, adding depth and visual interest, but other times they can ruin it by dominating too much of the picture.
The intensity of shadows depends on the type of light you’re shooting in. Strong directional sunlight will cast hard, dark shadows, whereas an overcast day creates a more diffused light, making the shadows much softer.
The photo above was taken in bright sunlight. Notice the harsh shadows being cast by the objects in the scene. Sometimes strong shadows will enhance the image, especially when they create interesting shapes that add to the composition.
But in most cases, you should try to avoid harsh shadows in still life and food photography. Soft shadows are much more flattering to the subject, creating subtle depth and dimension without dominating the scene.
To avoid harsh shadows in your food photos, shoot on an overcast day or move your subject into a lightly shaded area.
If you’re shooting indoors and the sun is shining brightly through the window, use a semi-transparent white curtain to diffuse the light.
Alternatively, you could try moving the food further away from the window, or use a different window on the other side of the house.
If you’re shooting outdoors on a sunny day and you don’t have the option to shoot in shade, try using a reflector to fill in the shadows with light. You can use a professional photography reflector or a simple white piece of paper will do.
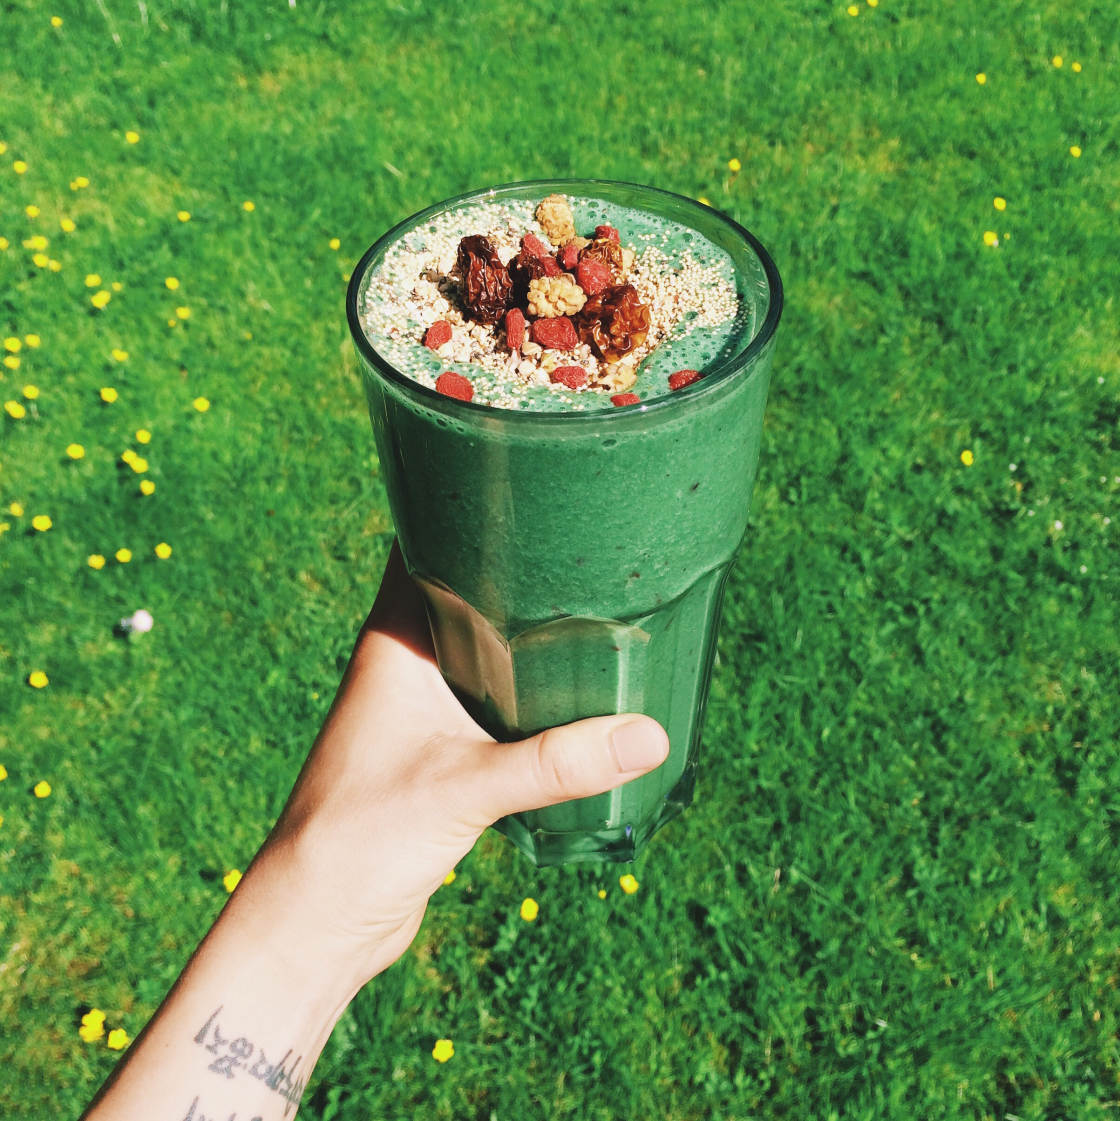
Position your reflector on the side where the shadows are – so that the reflector is facing the sun. The light from the sun will hit the reflector and bounce back onto the subject, brightening up the shadows.
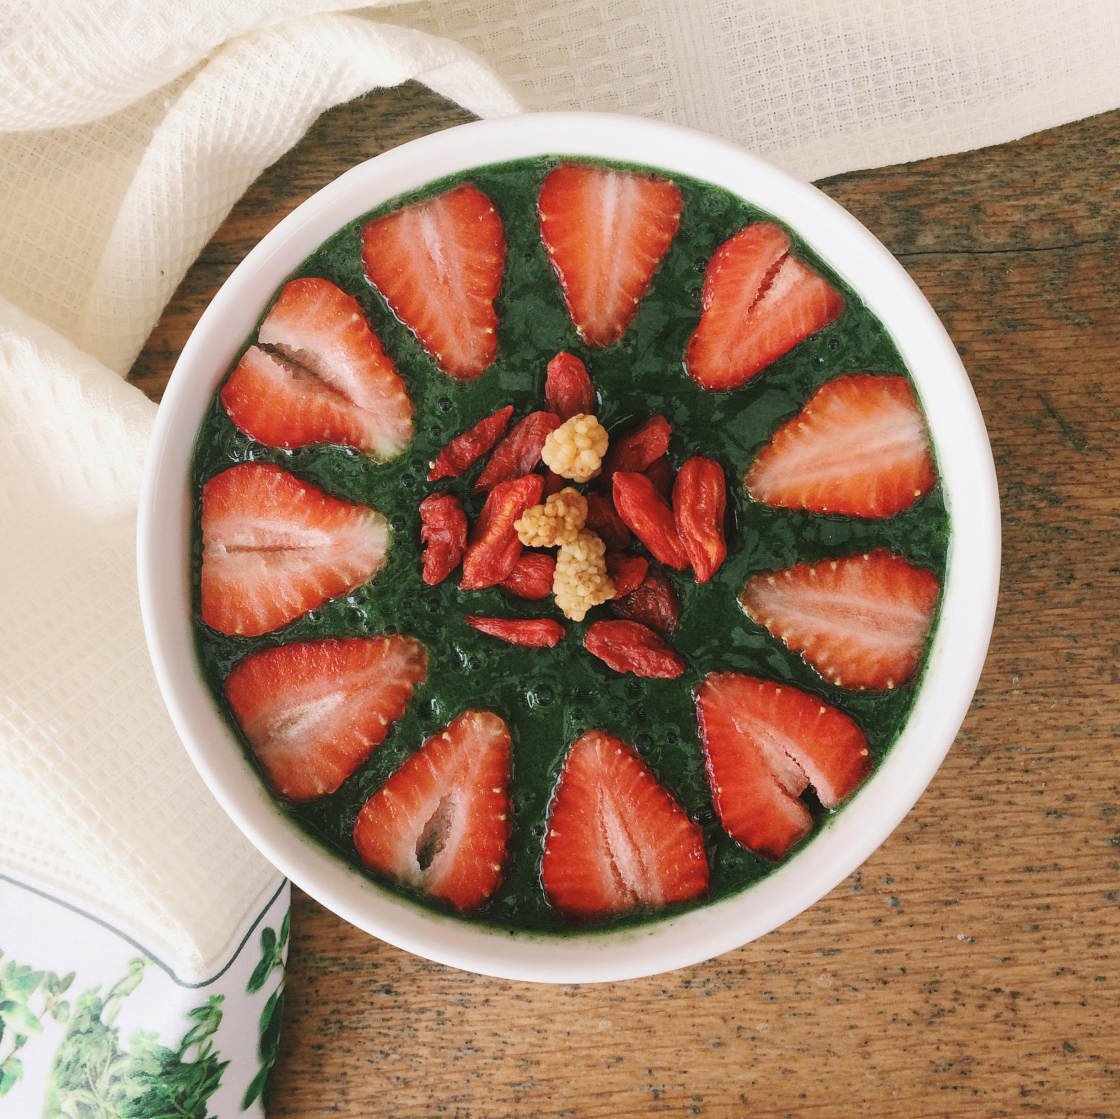
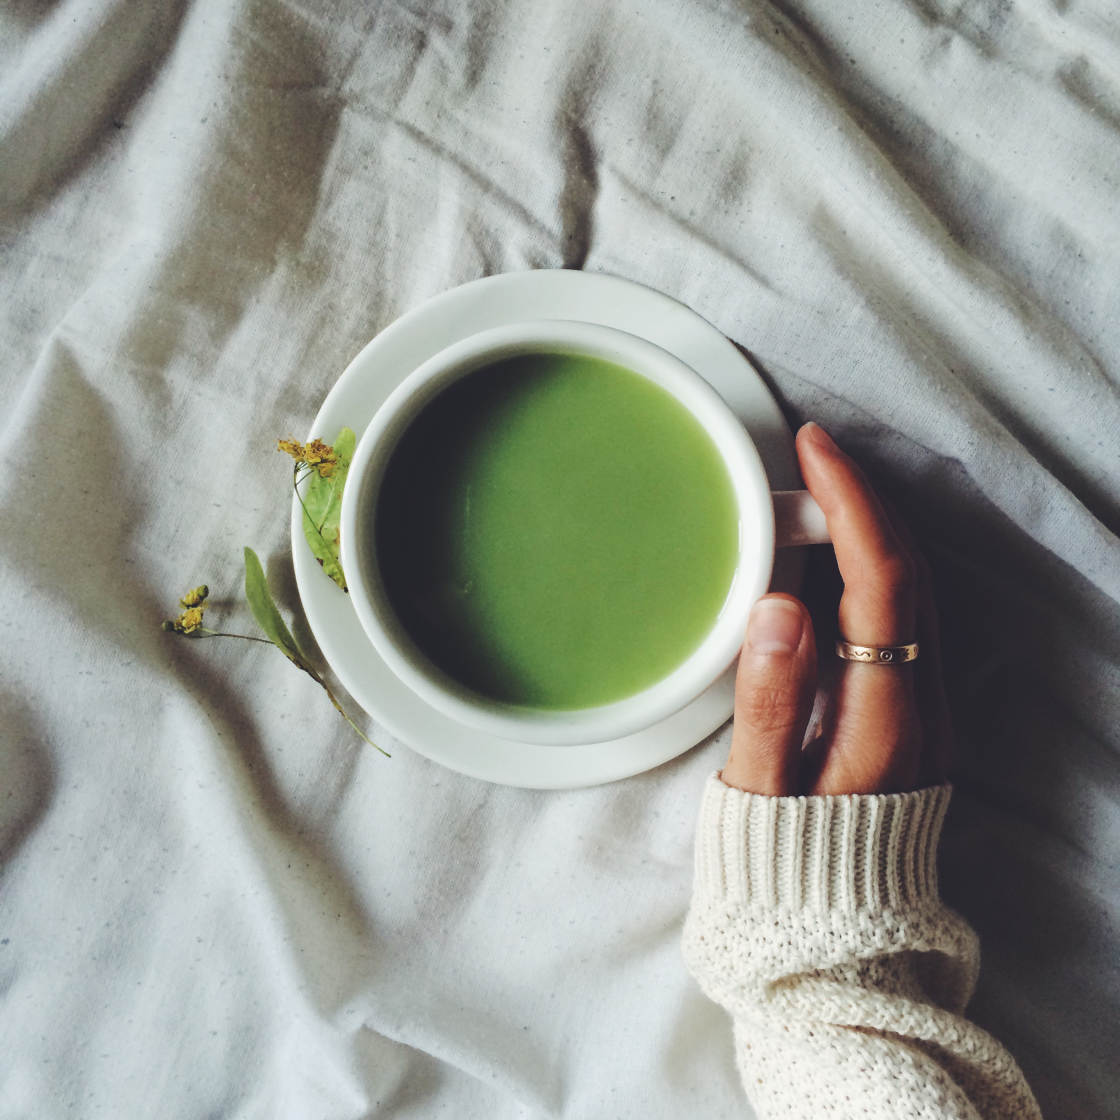
I used this technique when photographing the green smoothie shown above. It was a very sunny day, so I used a sheet of white paper to reduce the harsh shadows that appeared on one side of the subject.
Ultimately it’s up to you to choose how you want shadows to appear in your photo. Always be aware of the light and shadow play in the scene, and take control of it to create the image you envisioned.
3. Use A Neutral Background
When shooting a food photo, the background is very important. If the background is too messy or colorful, the viewer’s attention will be drawn away from the food.
Using a fairly neutral background allows you to place maximum emphasis on the food in the scene. A neutral background doesn’t mean that it has to be completely plain, but it should complement the subject rather than suppress it.
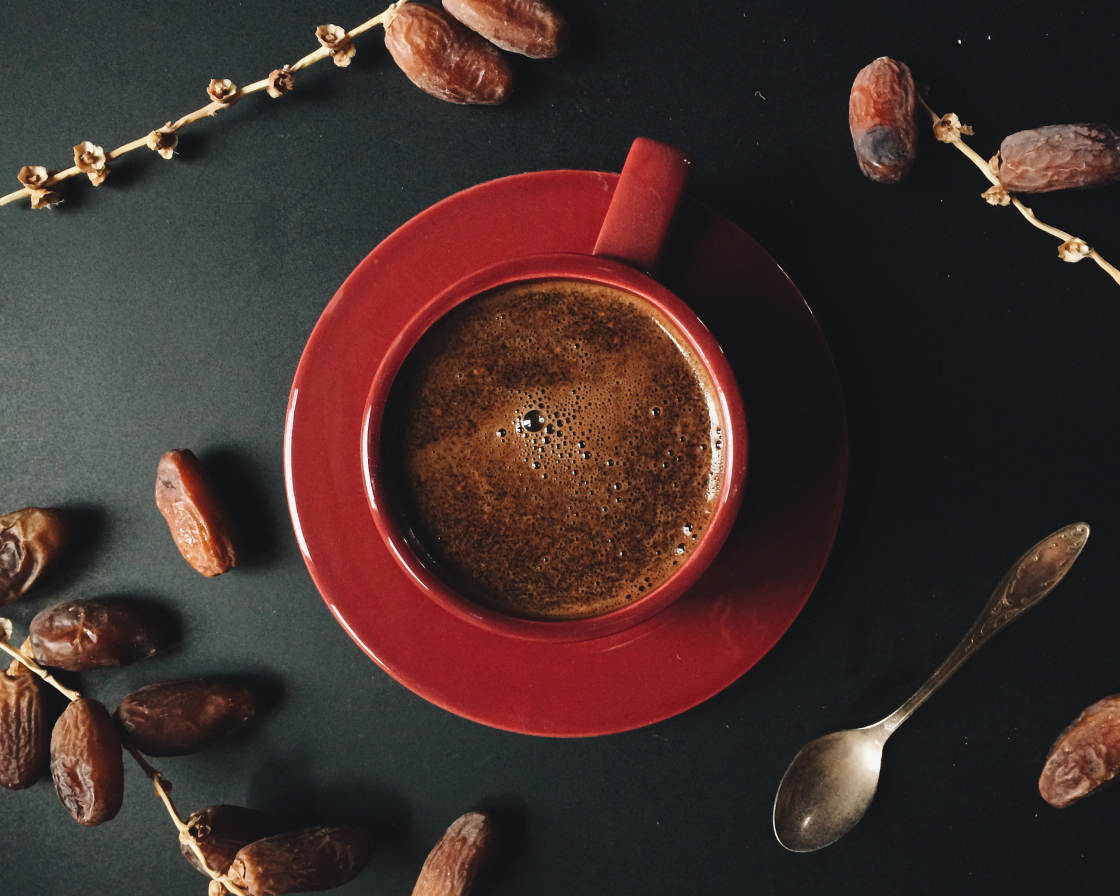
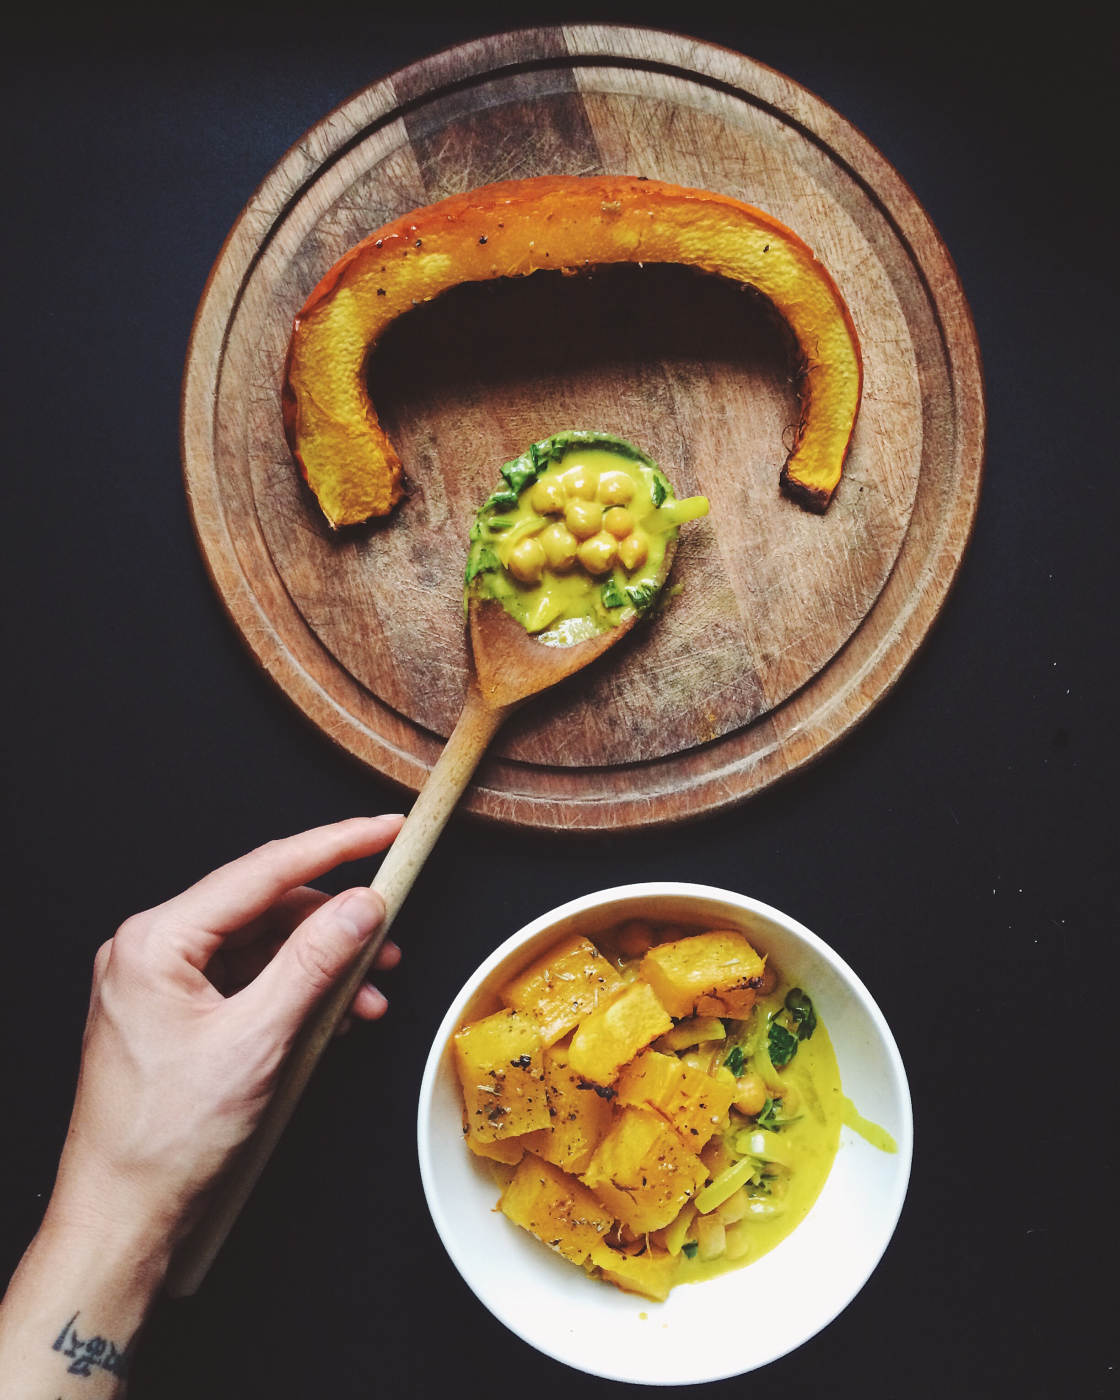
There are three main types of background that work really well for food photography: light backgrounds, dark backgrounds, and wooden (brown) backgrounds.
Dark food usually looks good on a dark background, and light colored food looks good on a light background.
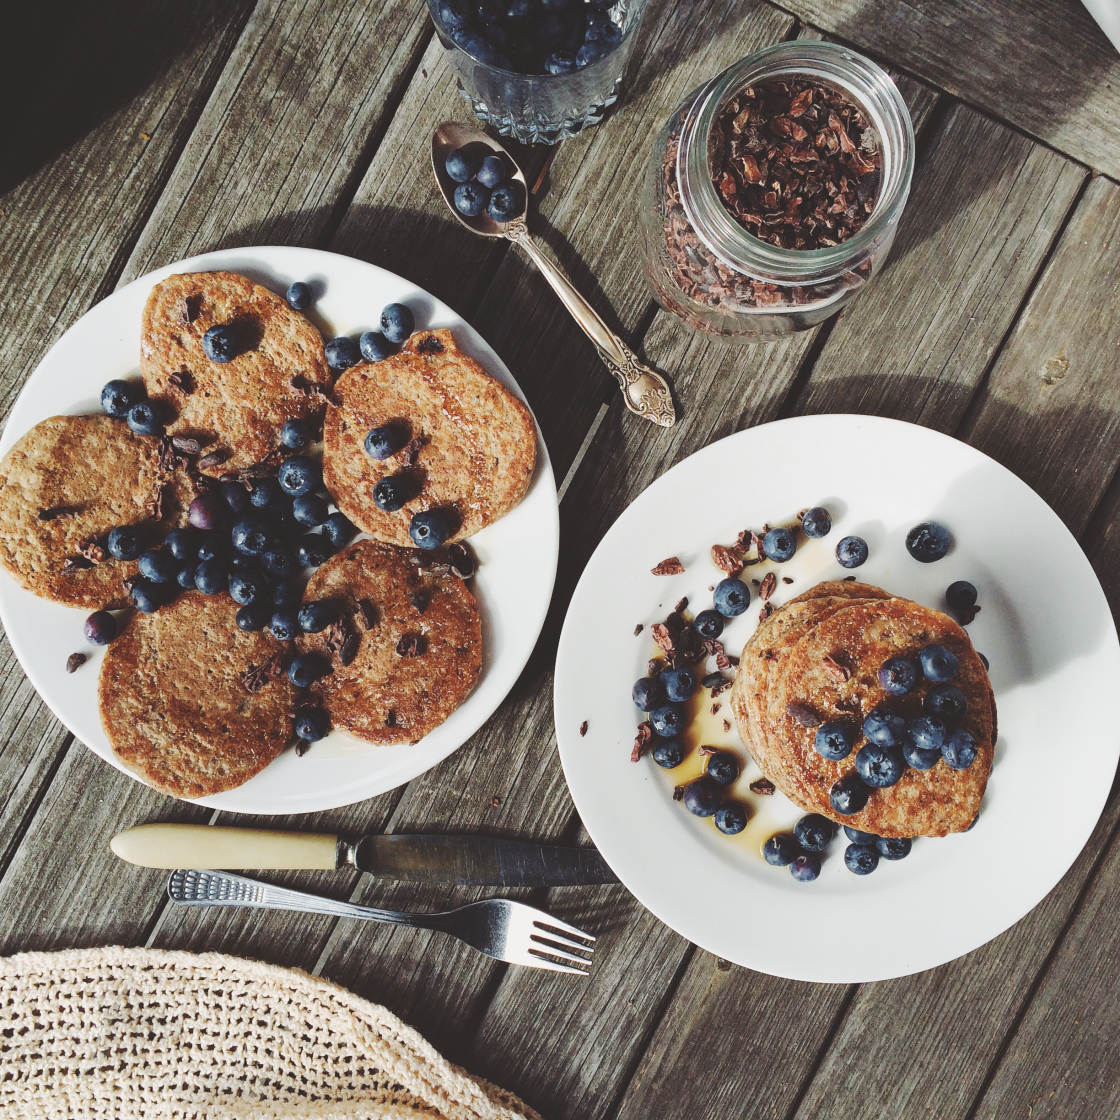
Wooden backgrounds, such as tables and chopping boards, tend to look great with almost any kind of food.
There are many objects that you can use as your background. A wooden table makes a great backdrop, particularly if it’s near a window so that you can make use of the natural light.
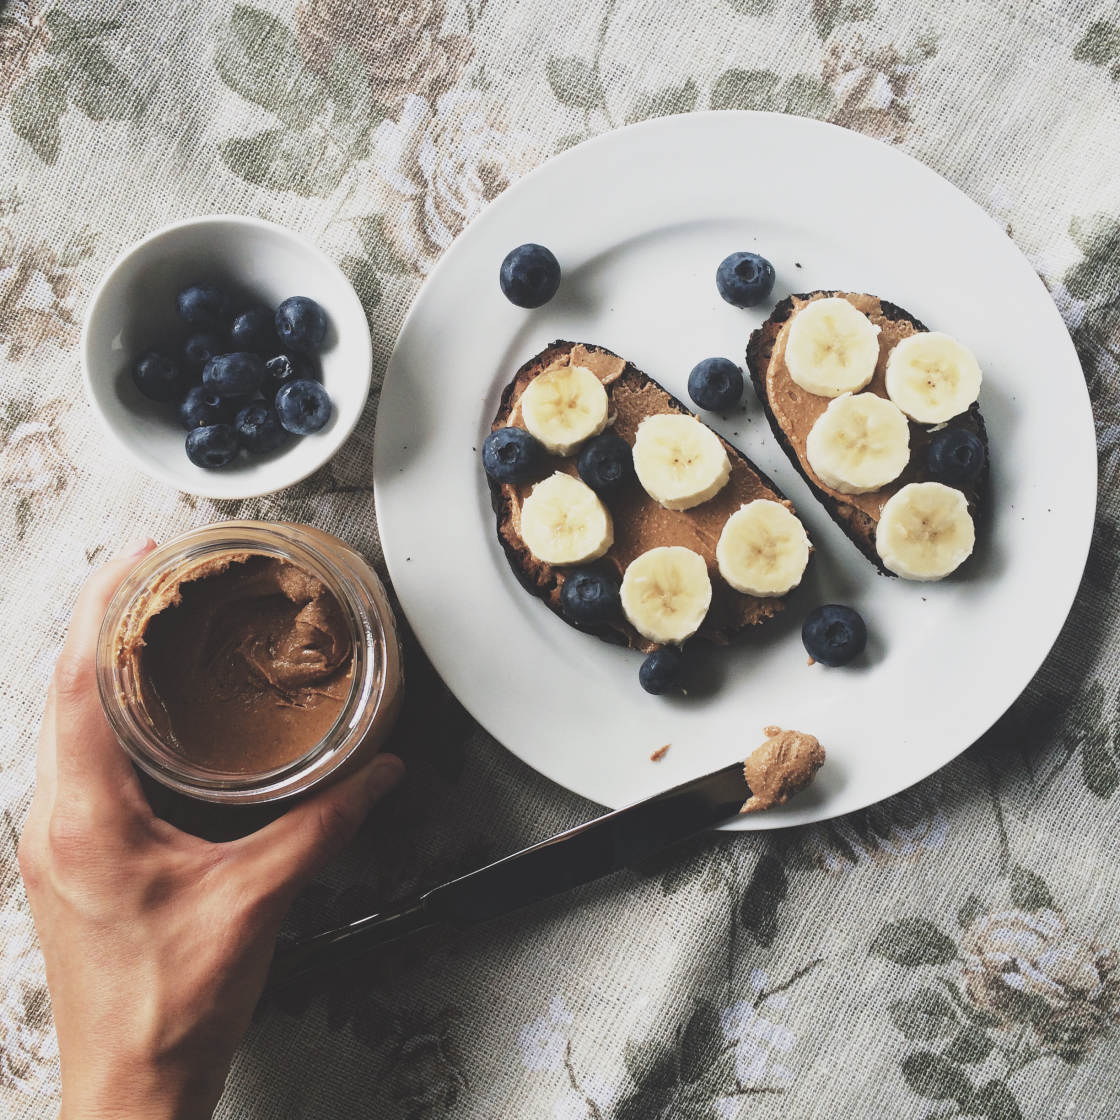
Tea towels and tablecloths also work well. White fabric tends to work best, but bright colors can work well with some foods. A subtle pattern, such as the vintage floral print shown below, can also look good sometimes.
Other backgrounds you could try include a black chalkboard, a carpet or rug, tiles, baking paper, a baking tray or a newspaper.
You can also use a neutral wall if you’re shooting your food from one side. Just walk around your house and see if you can find any of these objects in a subtle, neutral color.

4. Think About Color
The great thing about food photography is that it gives you the chance to play around with color. Colors have a big impact on your composition and they can affect the overall feel of the image.
In the photo above I created a composition using similar colors. The warm earthy tones create a harmonious composition, evoking feelings of comfort and tranquility.
Using contrasting colors in your composition tends to have the opposite effect. It creates a vibrant, dynamic and exciting image that stimulates the viewer’s emotions in a different way.
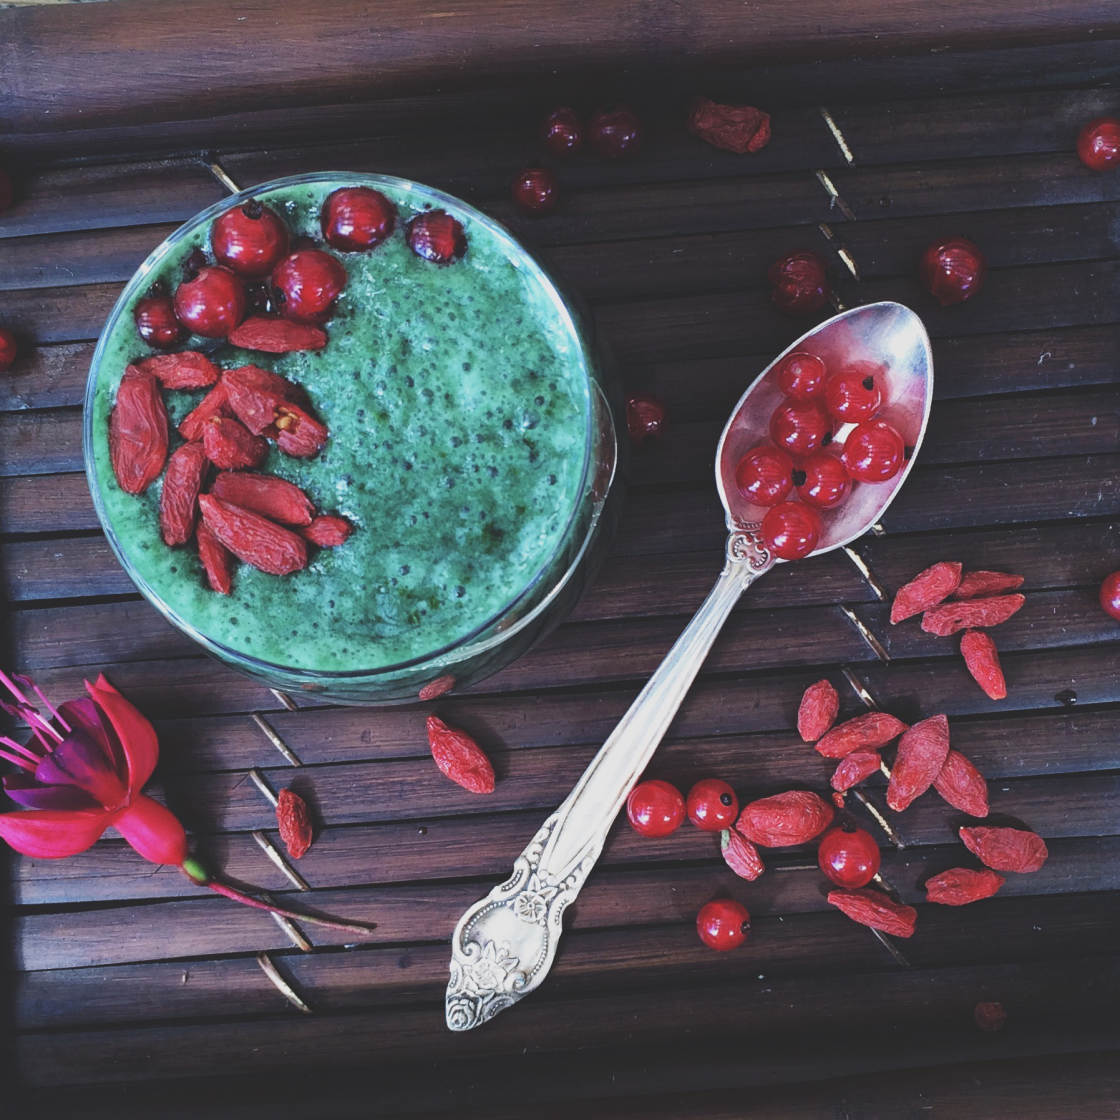
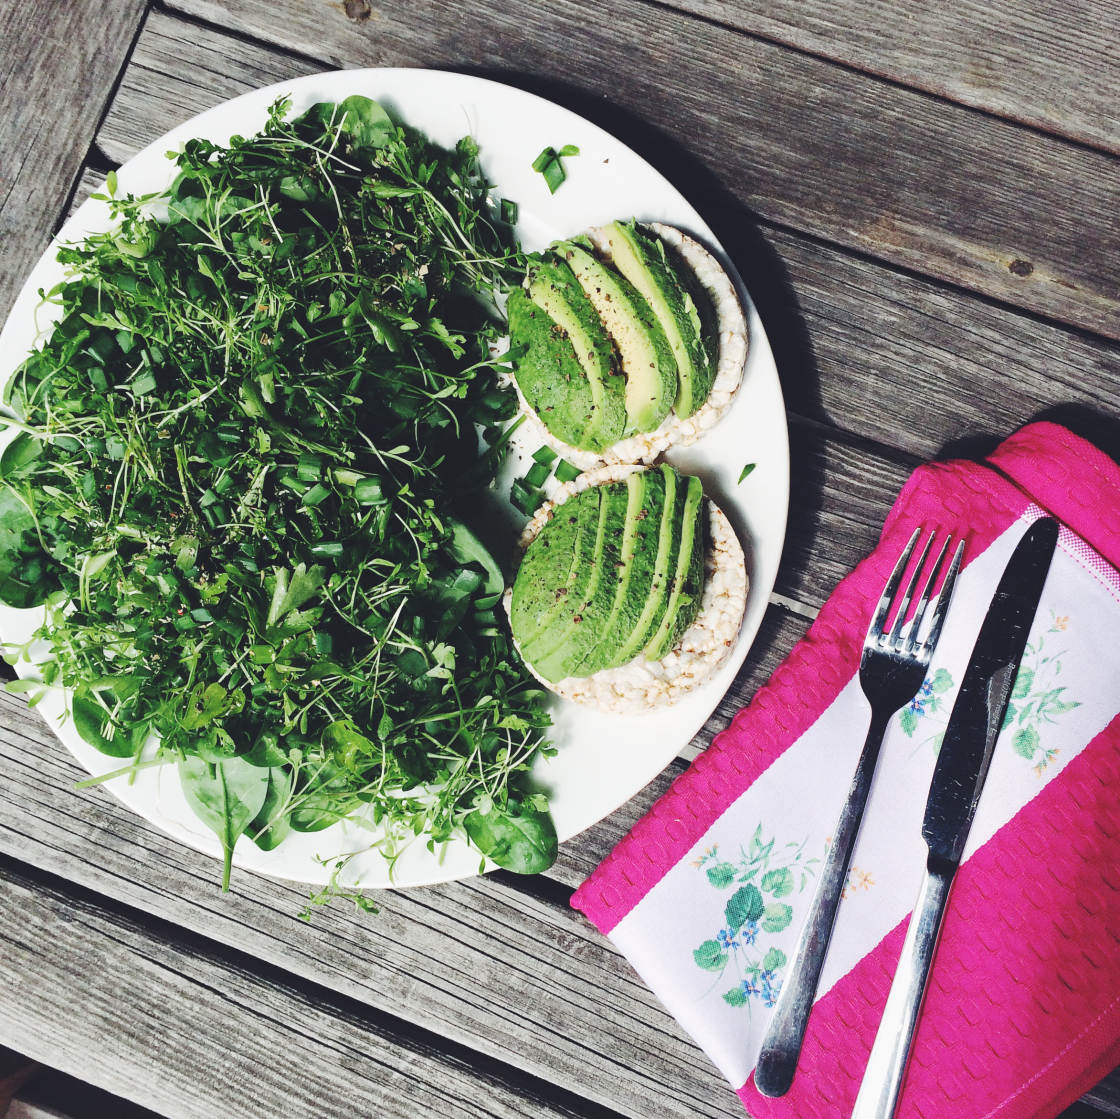
The contrast between red and green works particularly well in photography. You can create color contrast between the background and the food, or use contrasting colors in the food itself.
I love to experiment with different color combinations in smoothies. It’s fun to make, tastes delicious, and creates a great photo.
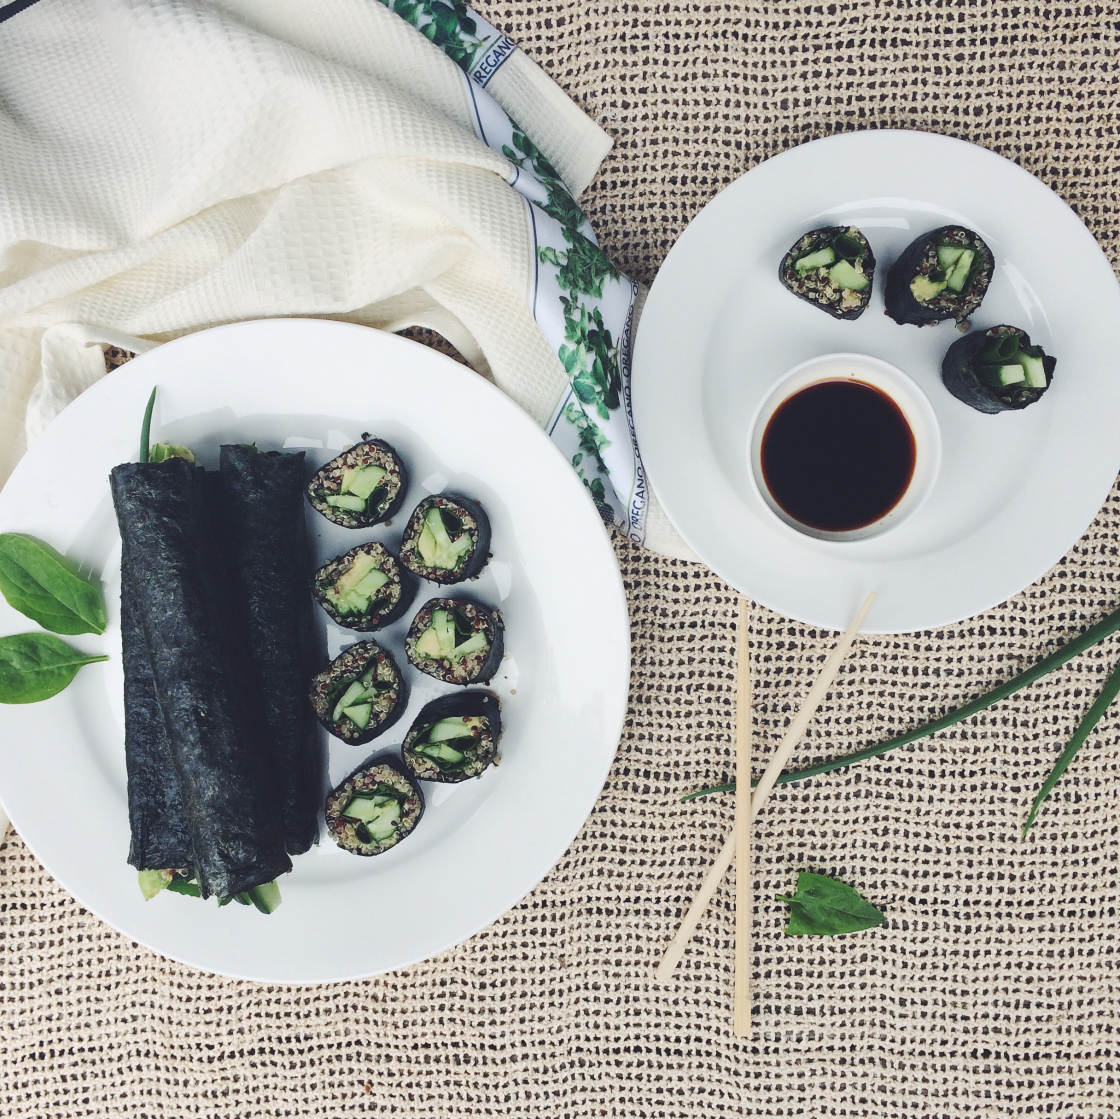
5. Shoot From The Best Angle
When taking photos of food, always think about which angle to shoot from to make the most of the subject. Shooting from above is often the best choice, especially when the food is arranged on a plate or bowl.
Shooting from above has several benefits. It allows you to include all the details of the food and the background, and it emphasizes the bold shapes of the dishes, cutlery and other objects within the scene.
It’s also much easier to create a strong and balanced composition, allowing you to arrange the elements on the surface you’re shooting on.
Finally, it’s great for eliminating any distracting backgrounds in a busy room, or at an outdoor location.
However, if your subject is a drink in a glass or a cake that has some interesting layers, consider shooting from one side.
Shooting from one side is also a good choice when you want to show details of a slice of bread, cake, muffin, etc. Just make sure you shoot against a neutral background such as a wall.
The third option is to shoot diagonally. This is the best option when you want to include both the side view and the top view in order to capture the three-dimensional shape of the subject.
If you’re unsure which angle would best capture your food, try shooting from several different perspectives. It’s amazing the difference a slight change in shooting angle will make.
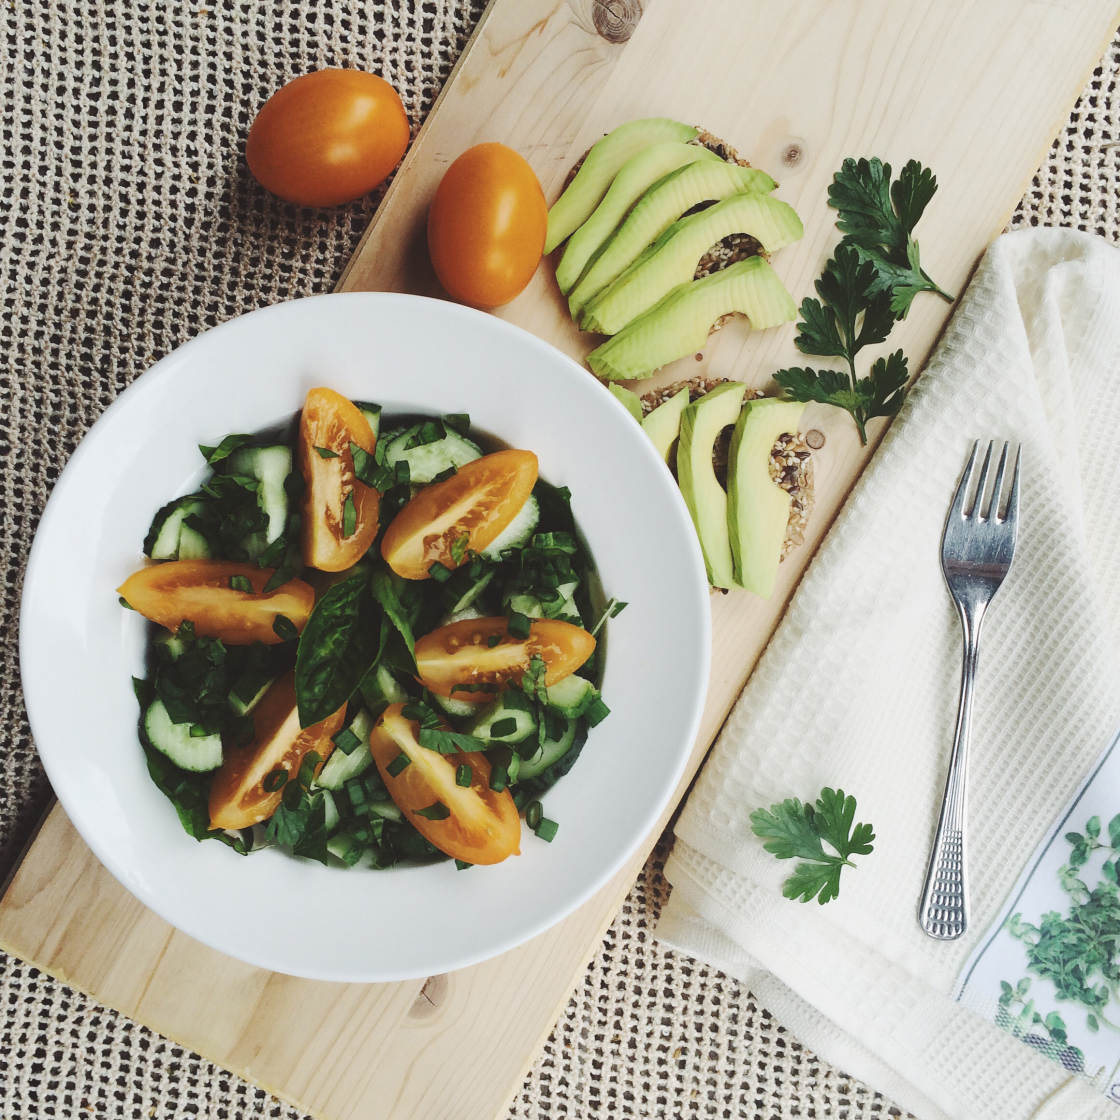
6. Arrange Your Food Neatly
The way you arrange your food will have a big impact on the final image. Composition is the key to great food photography, and the position of each element in the scene should be carefully thought out.
There’s nothing worse than a photo of a messy dinner on a plate. That’s not real food photography. So always arrange your food in a neat or unique way to create visual interest and balance.
It’s fun to play around with fruits and vegetables because you can cut them into similar shapes and create patterns on your plate or baking tray.
After creating your arrangement on the plate, make sure you haven’t spilled any food or sauce on the edge of the plate or the background.
If there are any spillages, clean them up before you take the photo. There shouldn’t be any unnecessary mess in your picture.
7. Give Your Subject Some Breathing Space
When composing your food photos, consider leaving some breathing space around the plate so that it doesn’t fill the entire frame.
While some close-up food shots can look great, leaving some empty negative space will often create a more pleasing composition and place more emphasis on the shapes of your subjects.
Including some empty space when you have a dark background emphasizes the darkness within the scene, whereas a light background helps to make the image look brighter.
Experiment with the position of the subjects within the space. Maybe the plate of food would look better in the center of the frame, or perhaps it would look better positioned to one side.
It’s often a good idea to take several shots with the subject placed in different positions within the space.
That way you can look at the photos after taking them, and decide which one creates the most balanced composition.
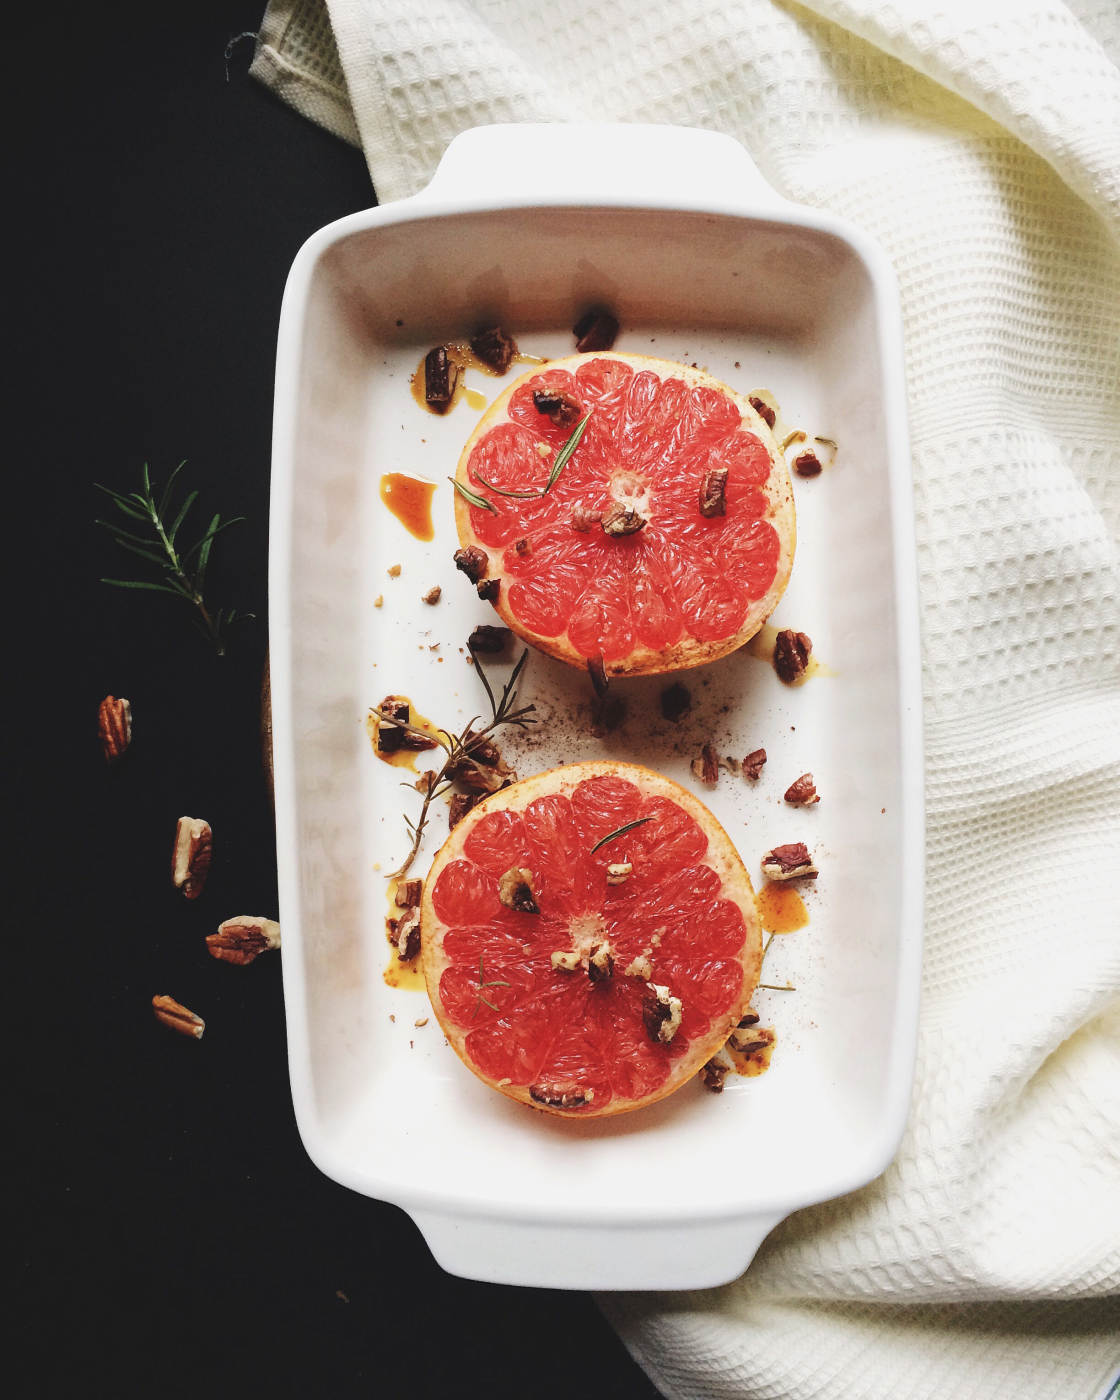
8. Decorate The Scene
The food and the background are both vital elements, but to make your photos more interesting you should also consider decorating the scene with some other smaller items.
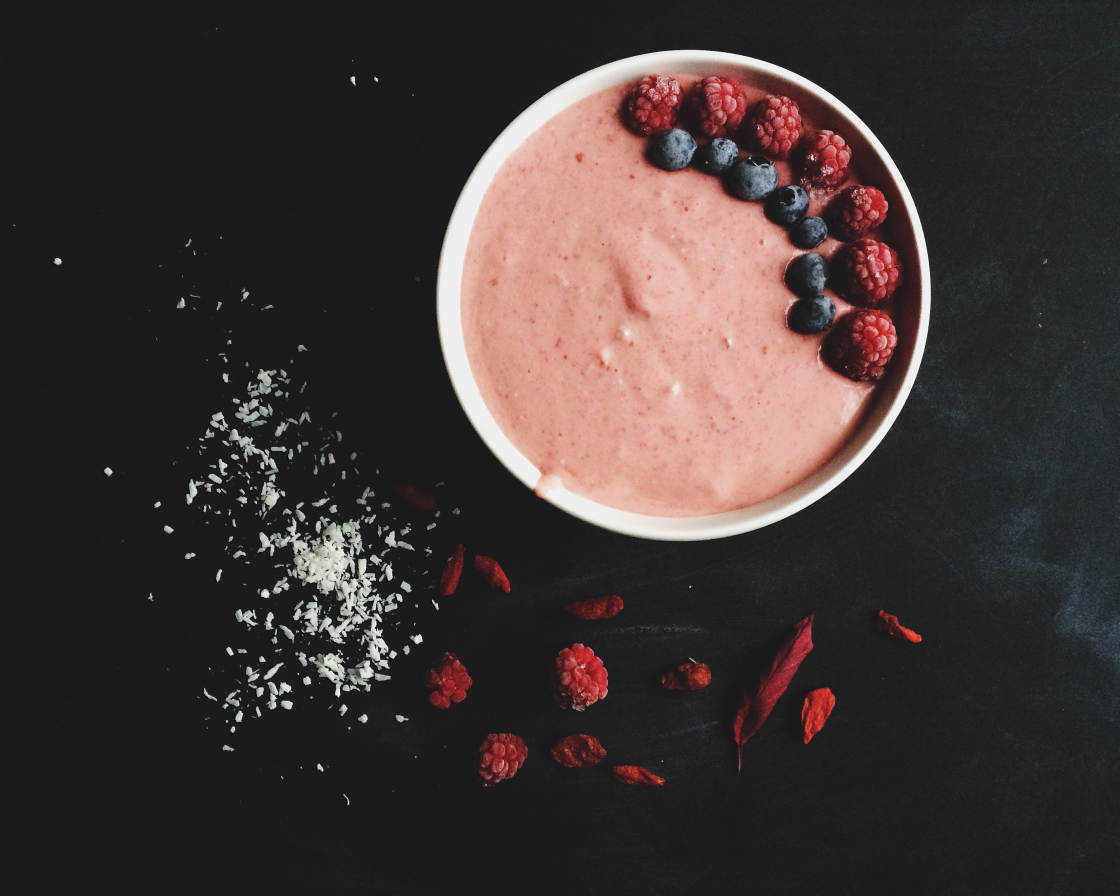
A great option is to include some of the dry ingredients that you used when cooking the food. As well as adding interest to the composition, this can also help to create a “visual recipe” for your food photo.
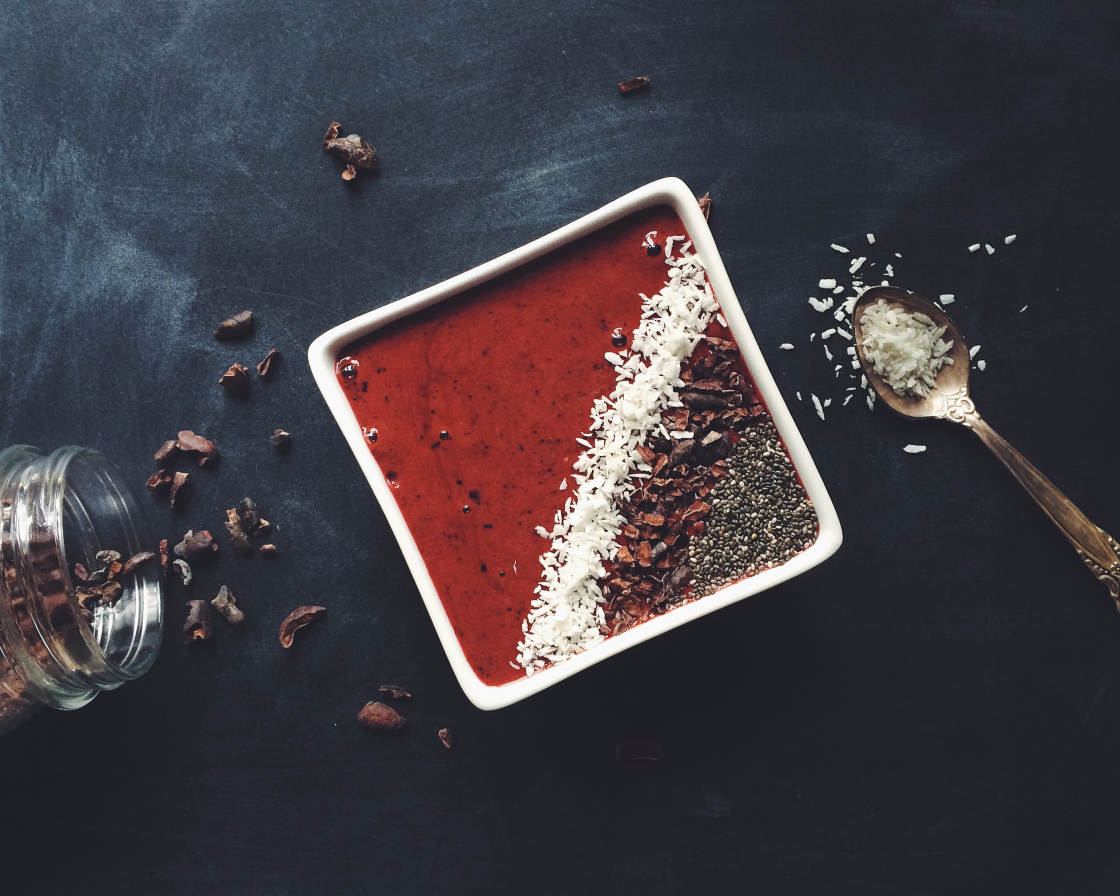
Spices usually look good as a decoration. You could fill a spoon with a colorful spice and place it somewhere in the frame.
You could create piles of different colored spices, or sprinkle part of the scene with a light dusting of a spice.
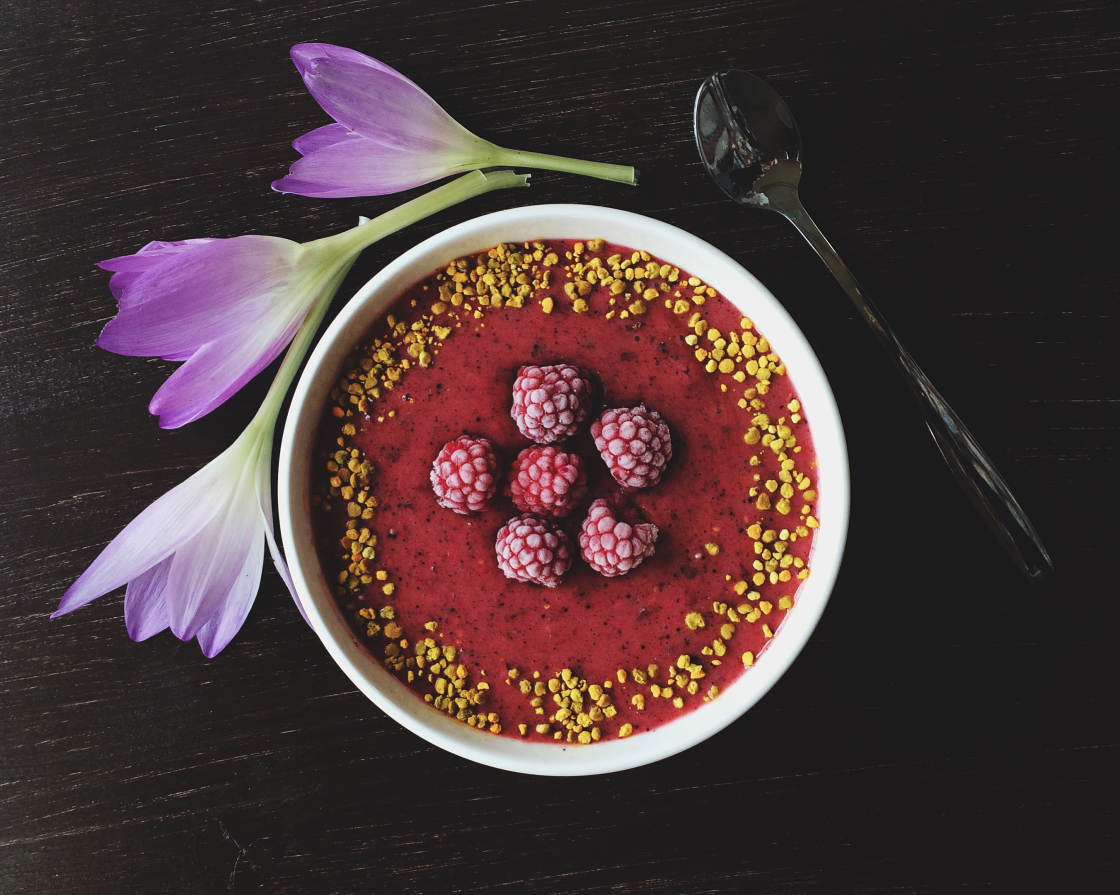
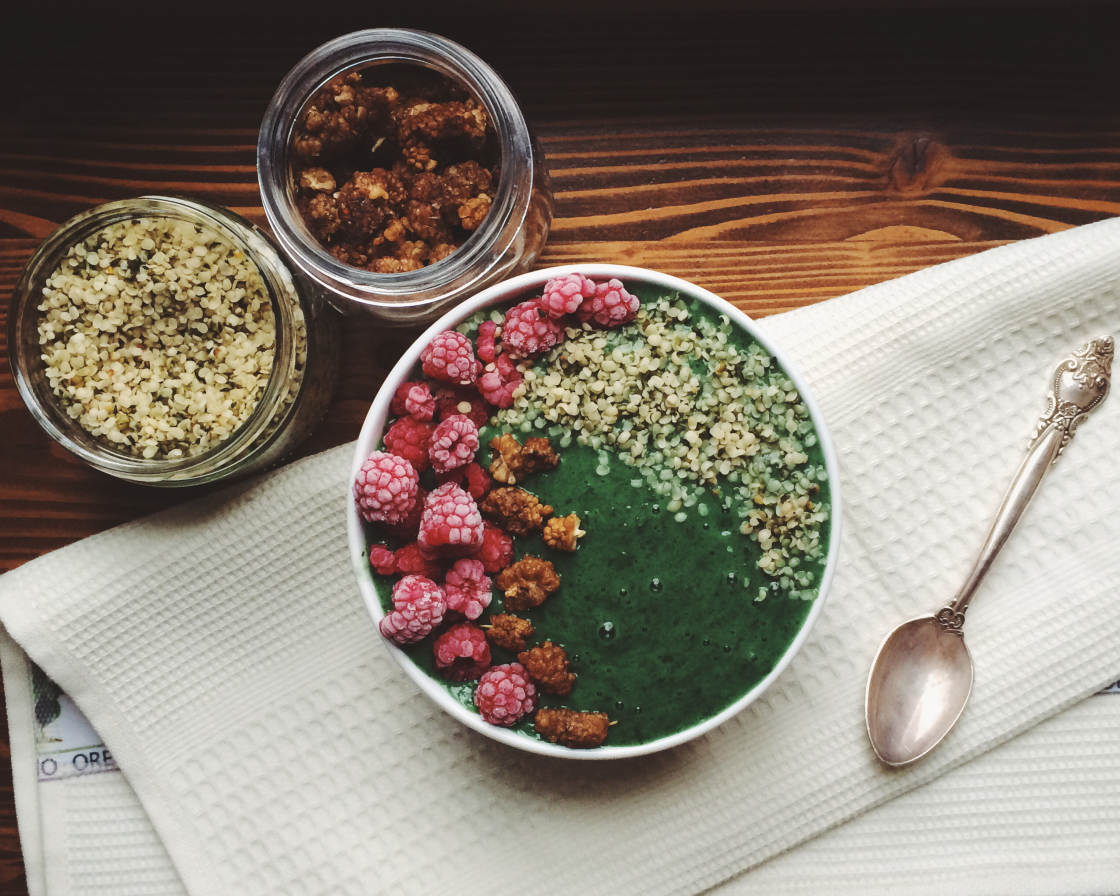
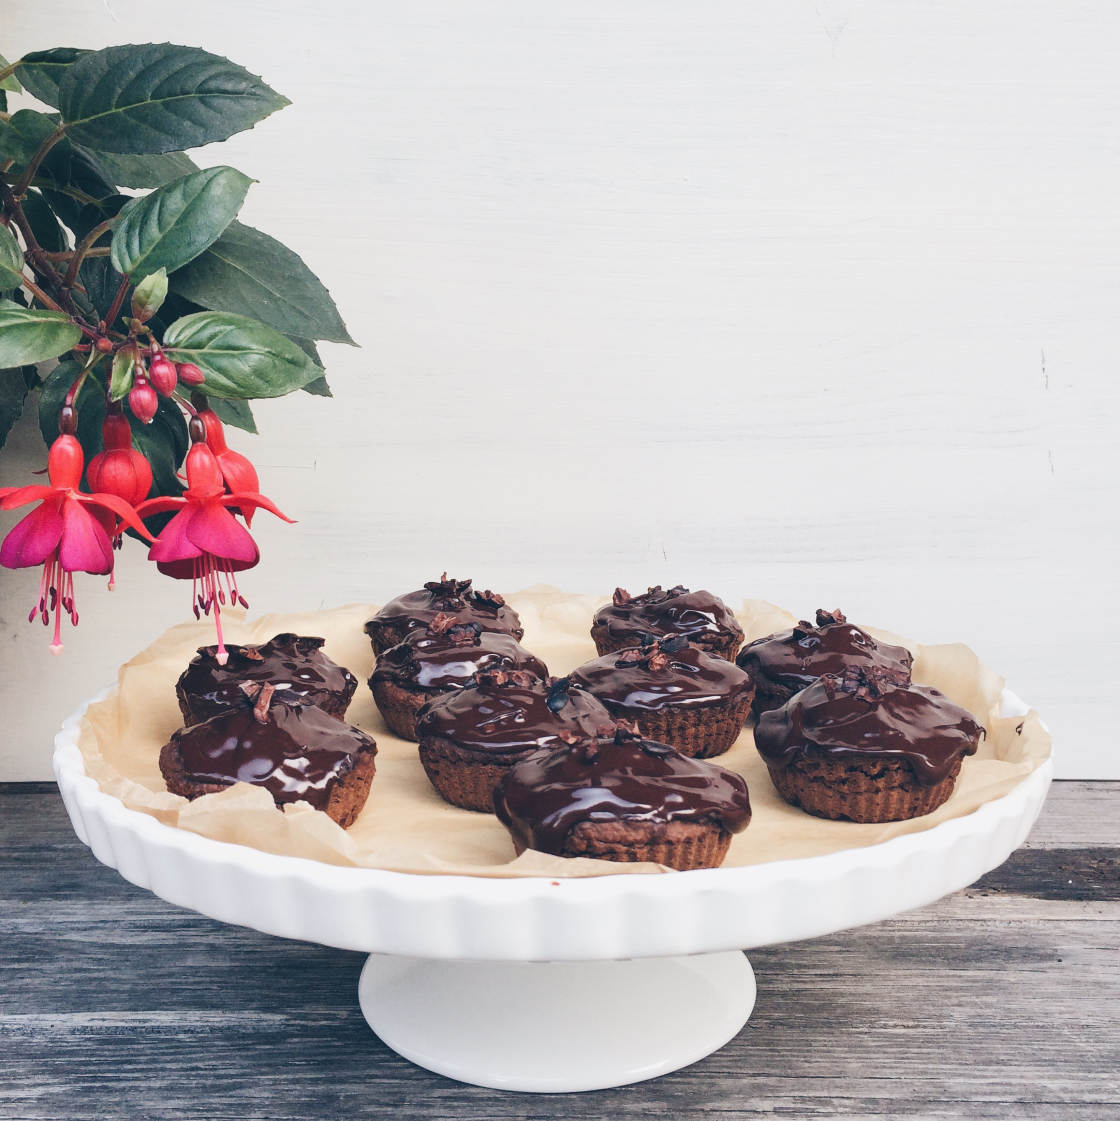
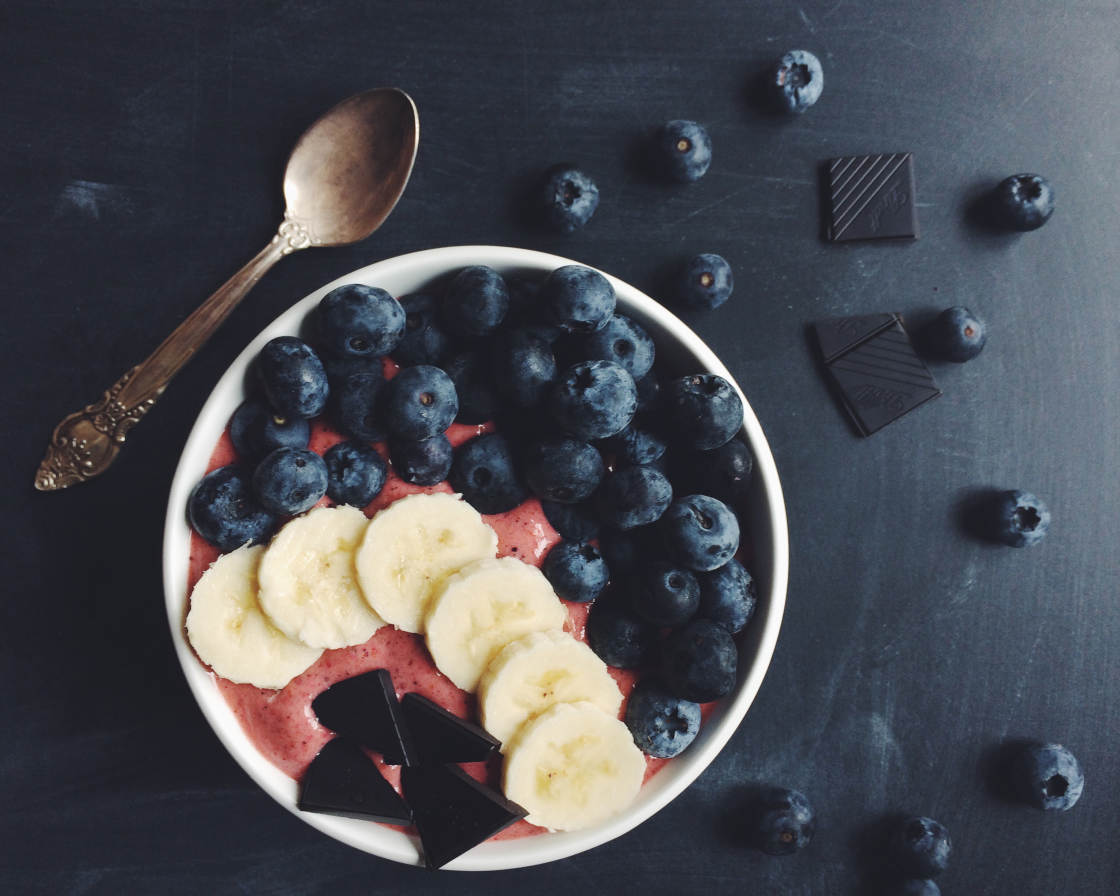
Some other great food decorations that you could use include berries, fruit pieces, nuts, chocolate pieces, and fresh herbs.
You could also find non-food items to decorate the scene. Cutlery and cooking utensils work well because they have strong shapes and lines which you can use to build your composition.
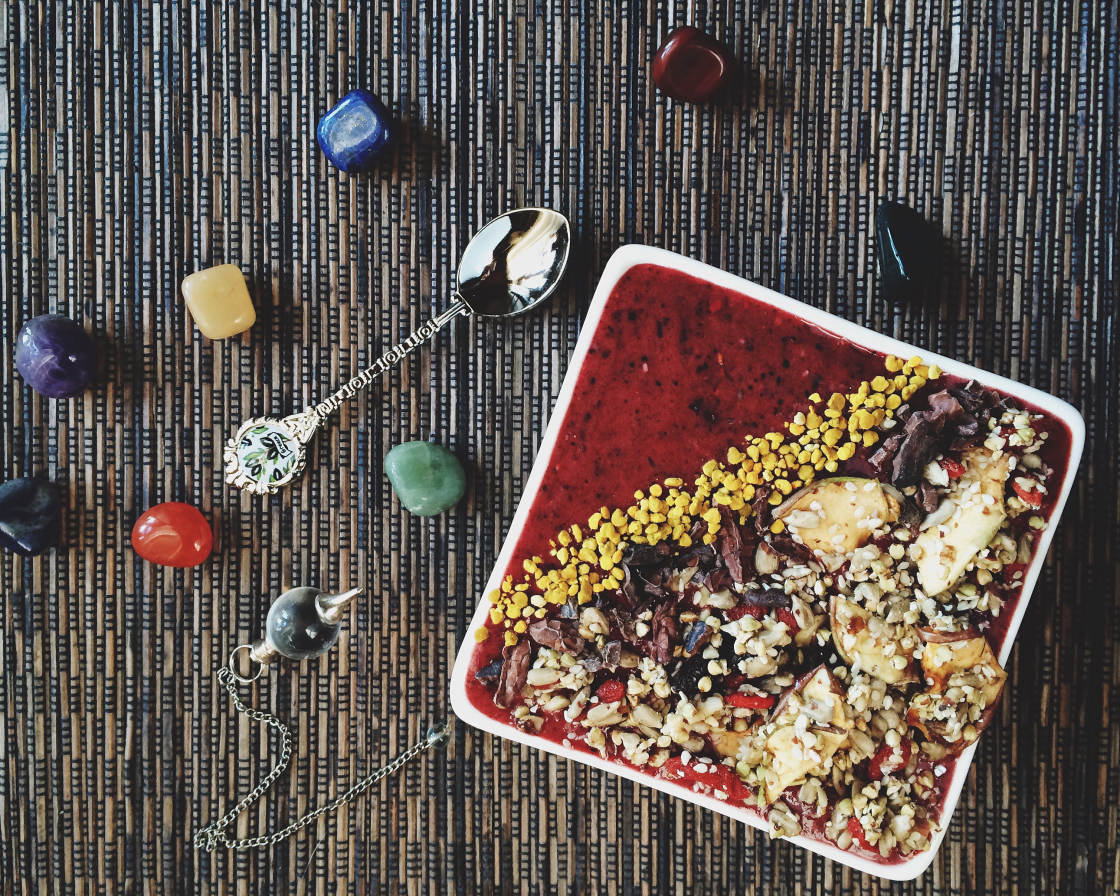
Look out for other small household objects that might complement the food, such as the colored stones in the photo below.
Always consider how the colors of your decorations will interact with the colors of the food and background. Do you want them to contrast with the color of the food, or do you want them to be similar?
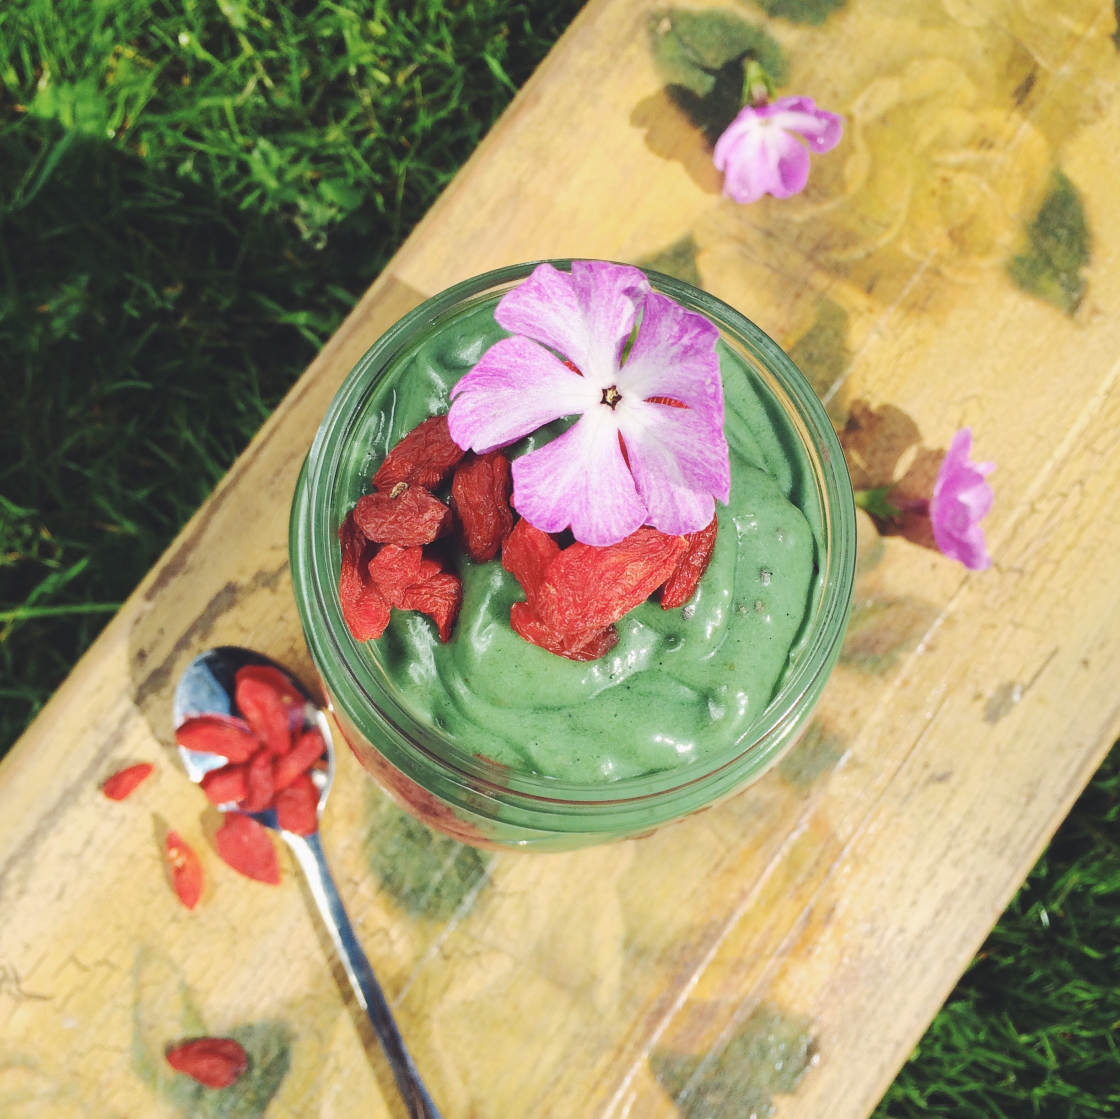
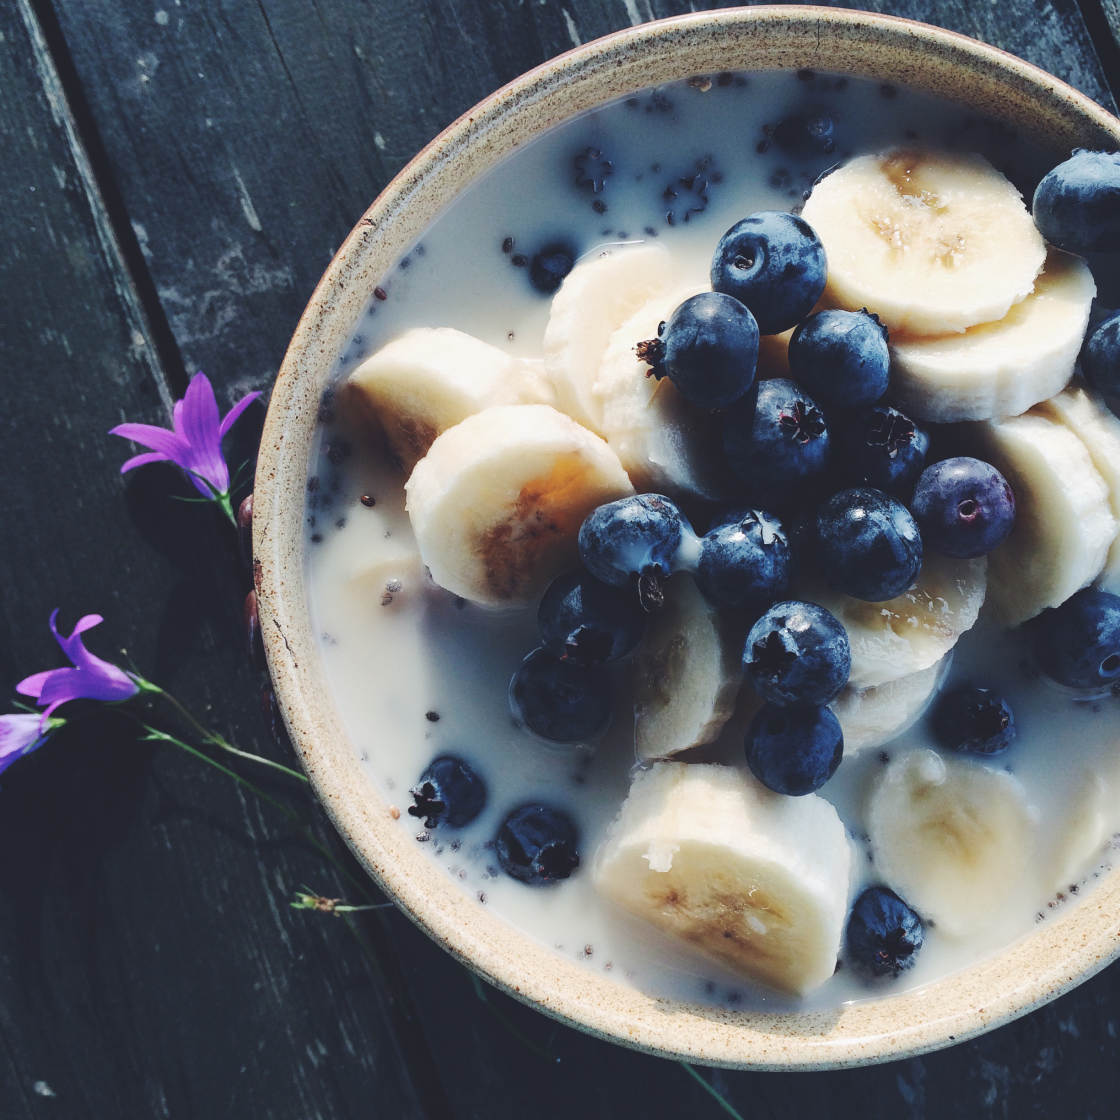
Items found in nature can make beautiful decorations in your food photos. They make the scene more interesting and can represent the current season.
In summer I often use flowers to decorate my food photos. Flowers will add stunning colors and a beautifully delicate touch to your food photos.
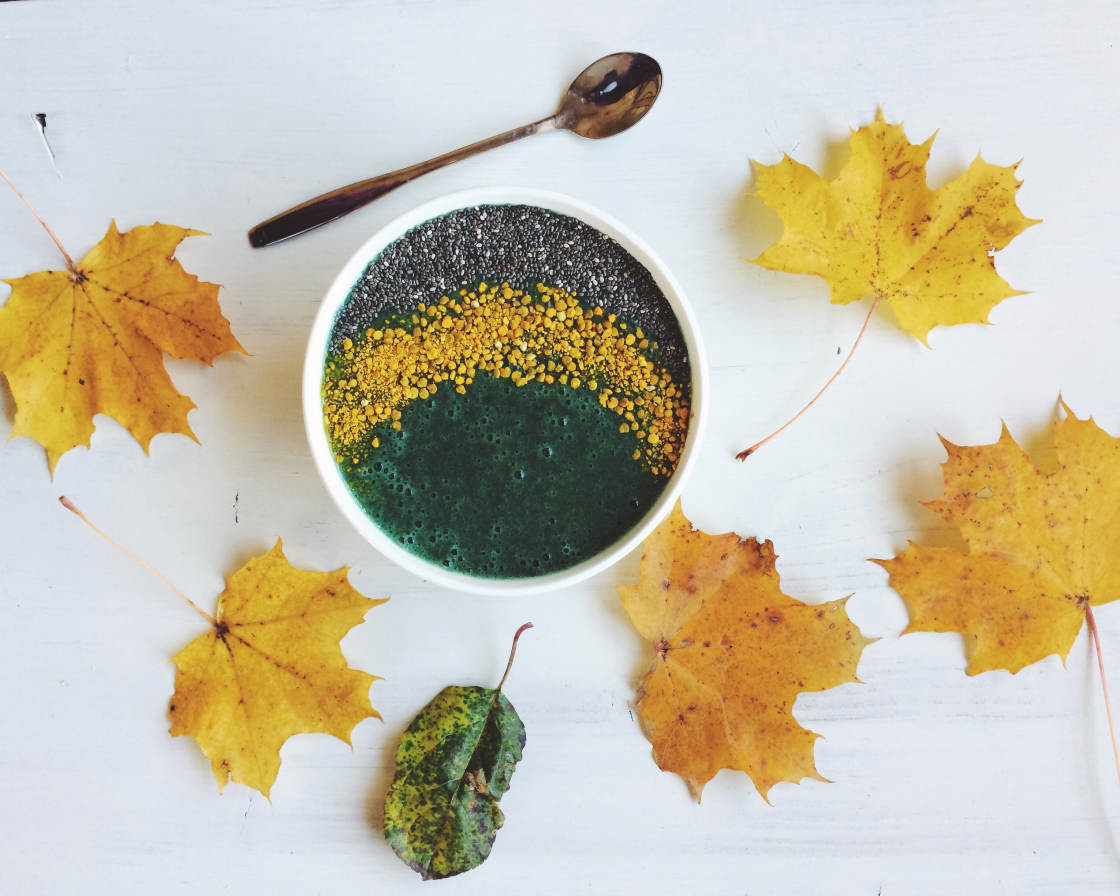
Leaves are another great choice, and they can help to tell a story about the season you’re shooting in. The yellow leaves in the photo above add a wonderful autumnal vibe to the image.
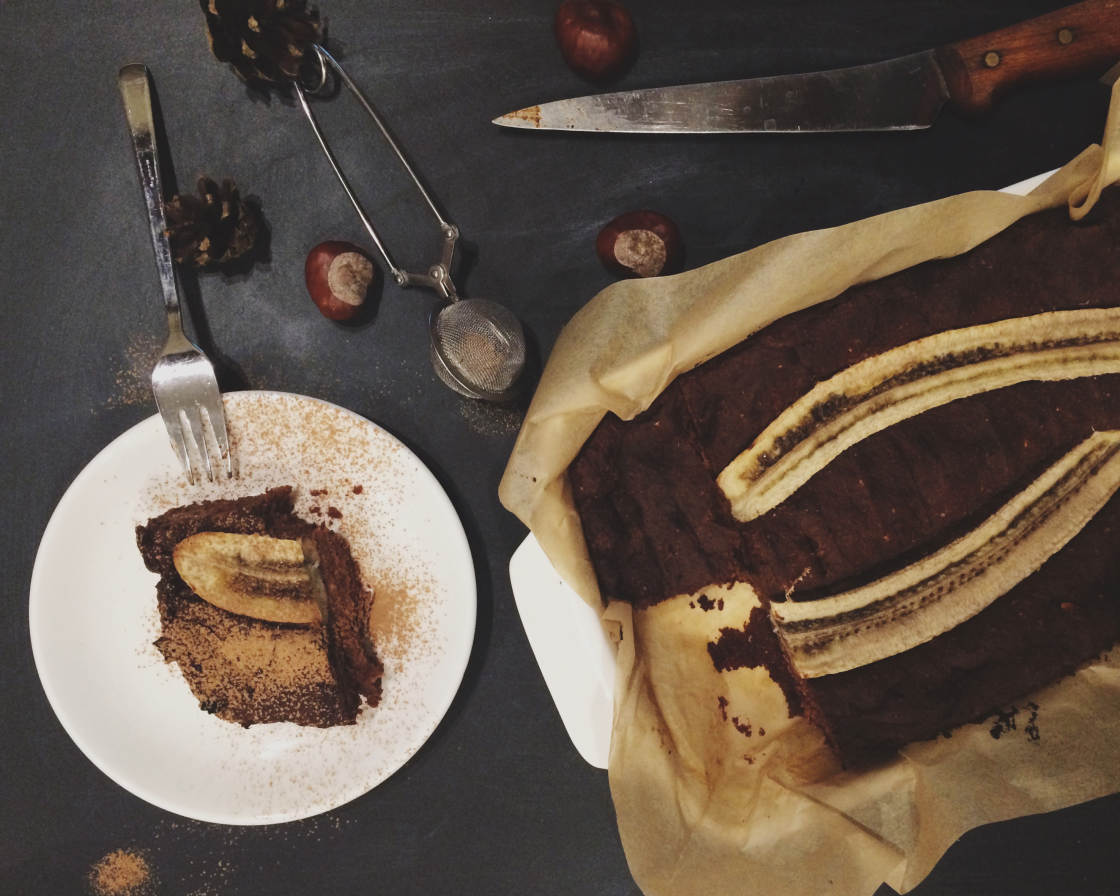
Keep your eyes peeled for other items when you’re out walking in nature. Acorns, chestnuts, pine cones, and beautiful pebbles can all make wonderful additions to your food photos.
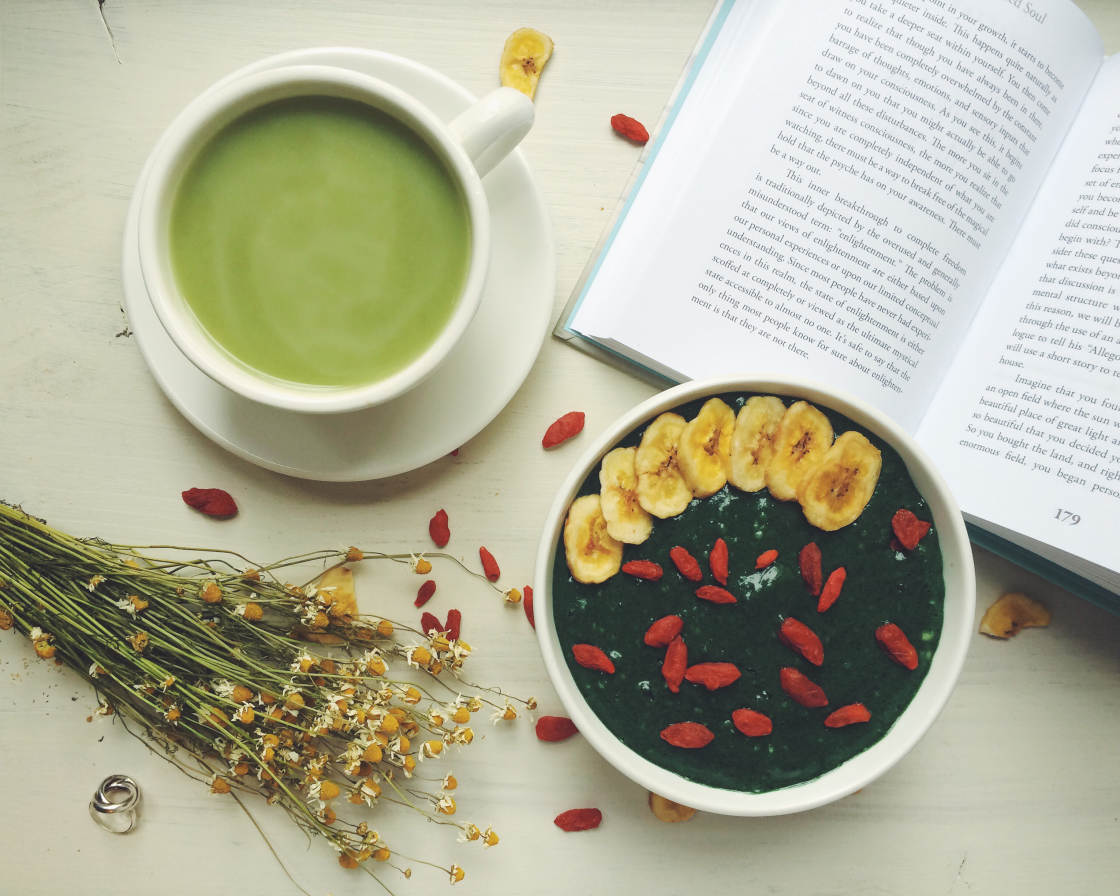
9. Create A Story
Photography is a great way to tell stories without using words. By adding more elements to your food photos, you can create interesting stories that draw the viewer into your image.
Think about what kind of objects you could use to help tell a dreamy, atmospheric or exciting story through your food photography.
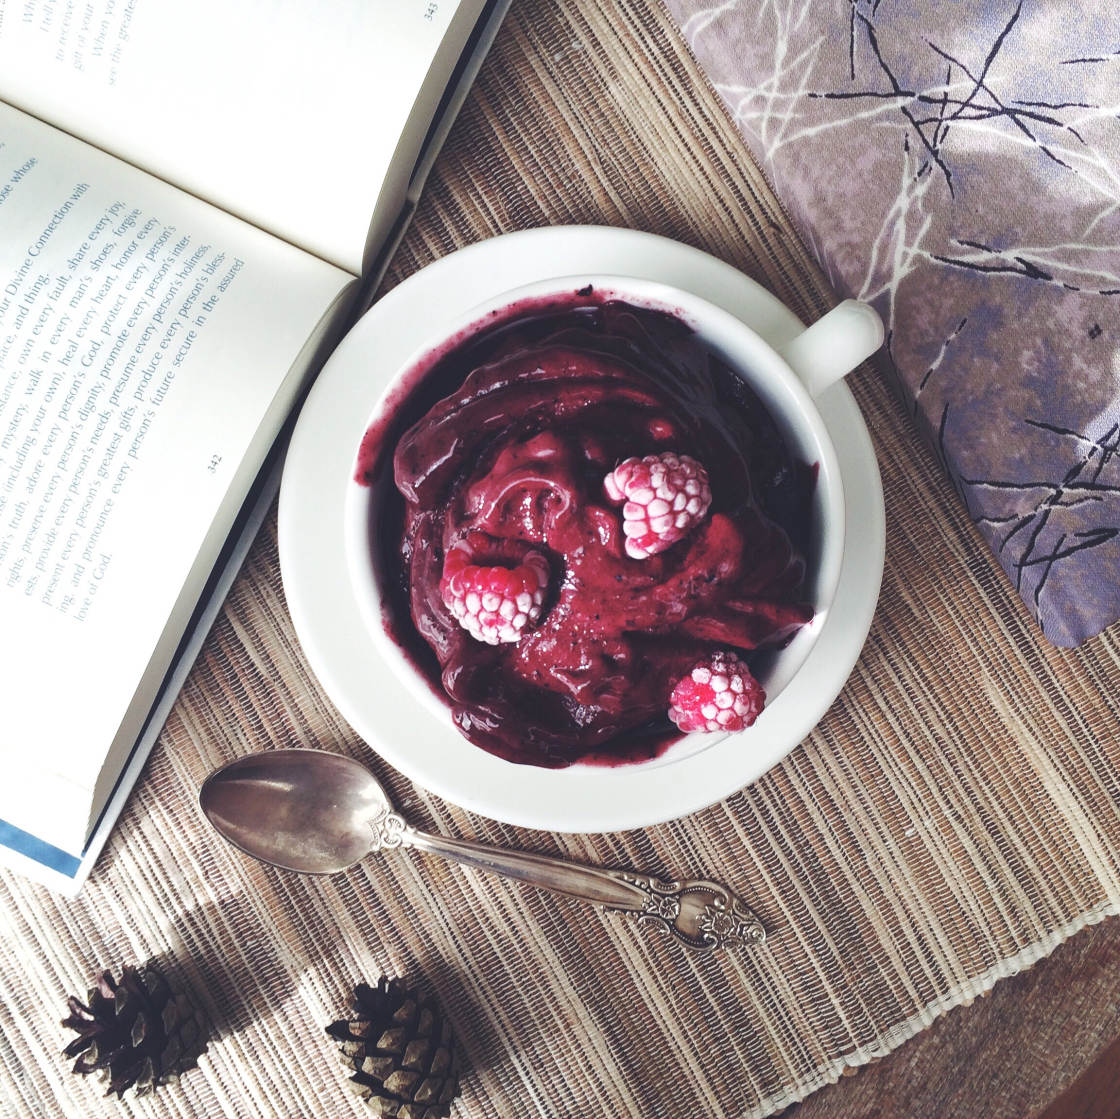
For example, you could add an open book or a teacup to create a cozy, warm and relaxed feeling in your image.
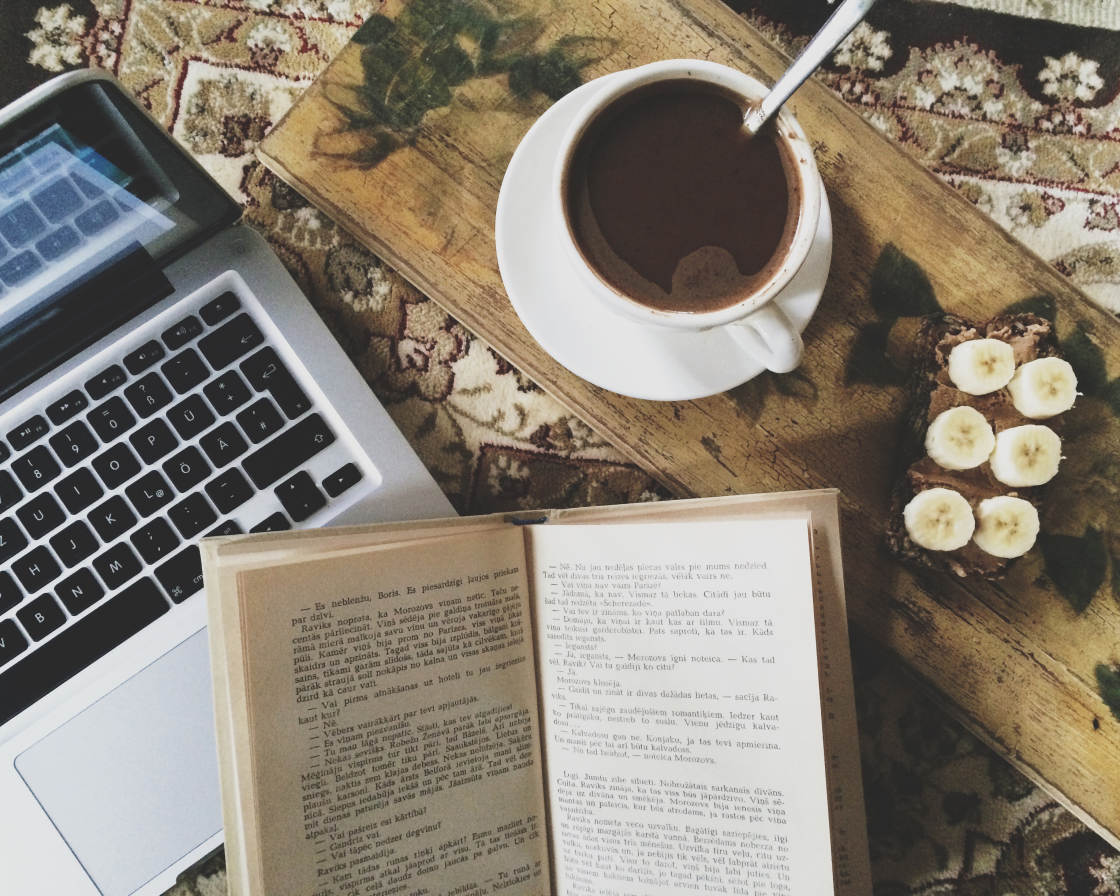
Or how about including a laptop to indicate that you might be working while enjoying a cup of fresh coffee and a healthy snack?
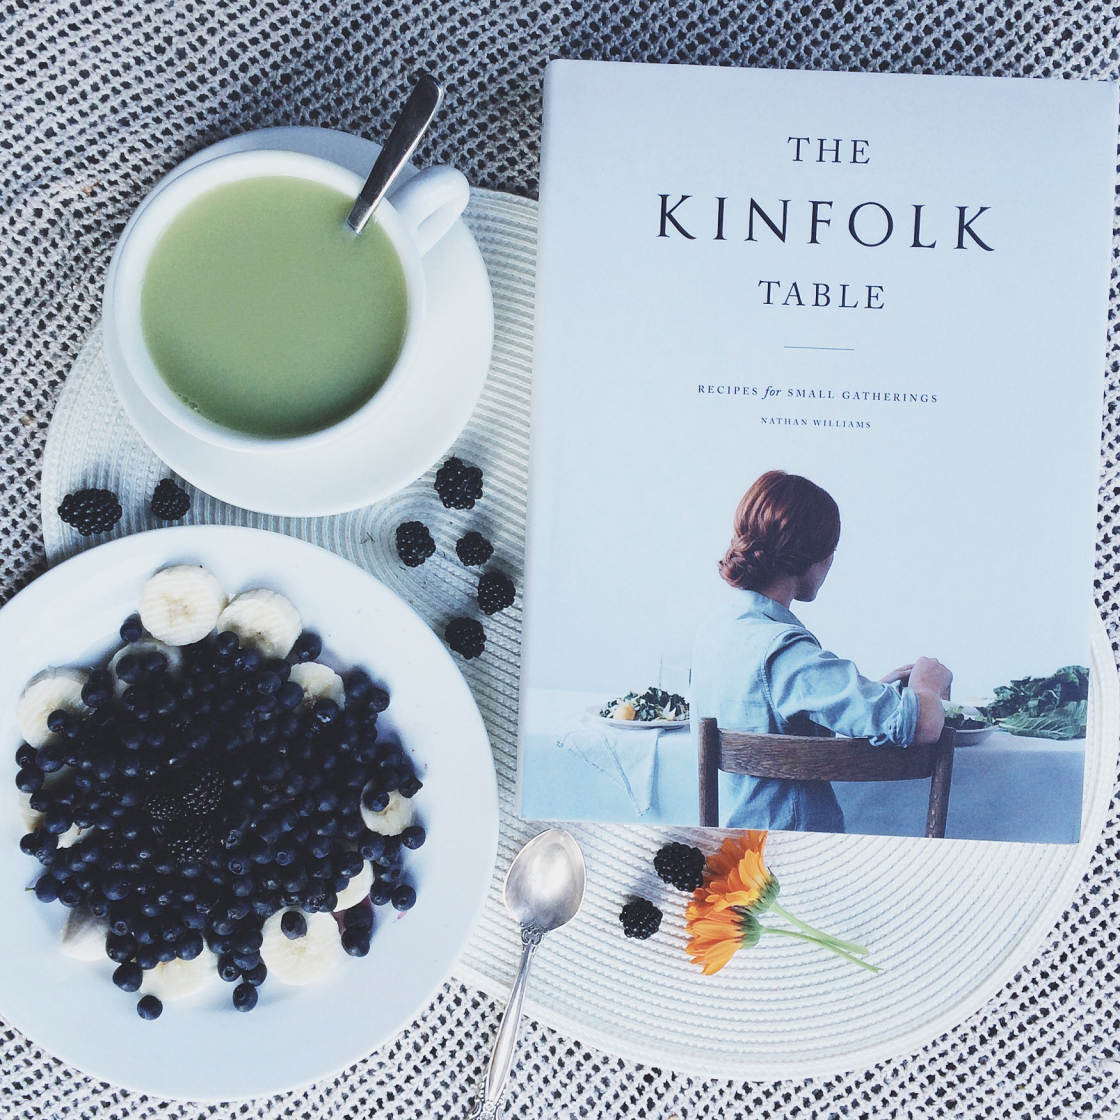
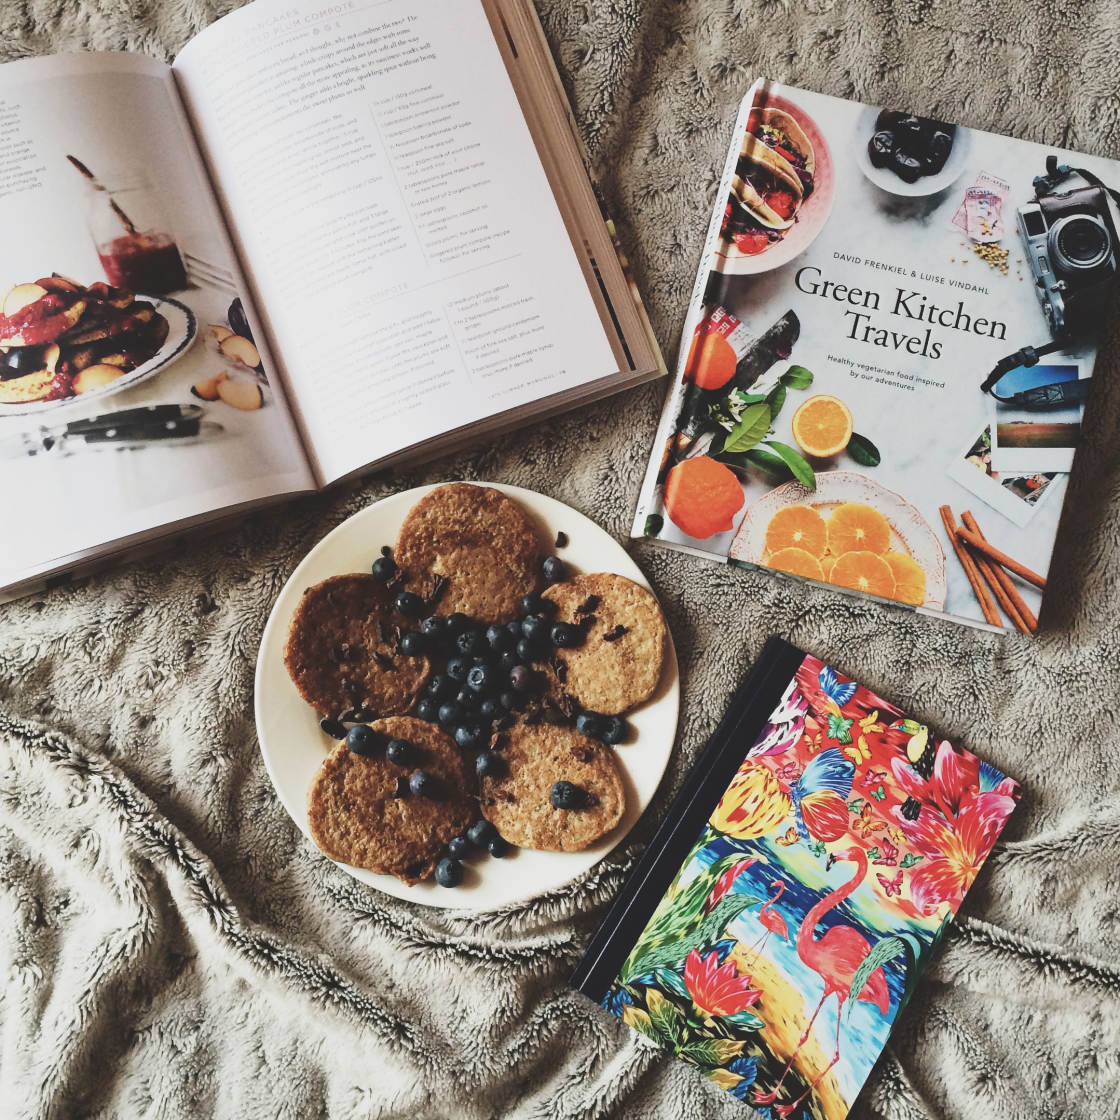
Including cookery books in the composition might indicate that you’ve been experimenting with new recipes.
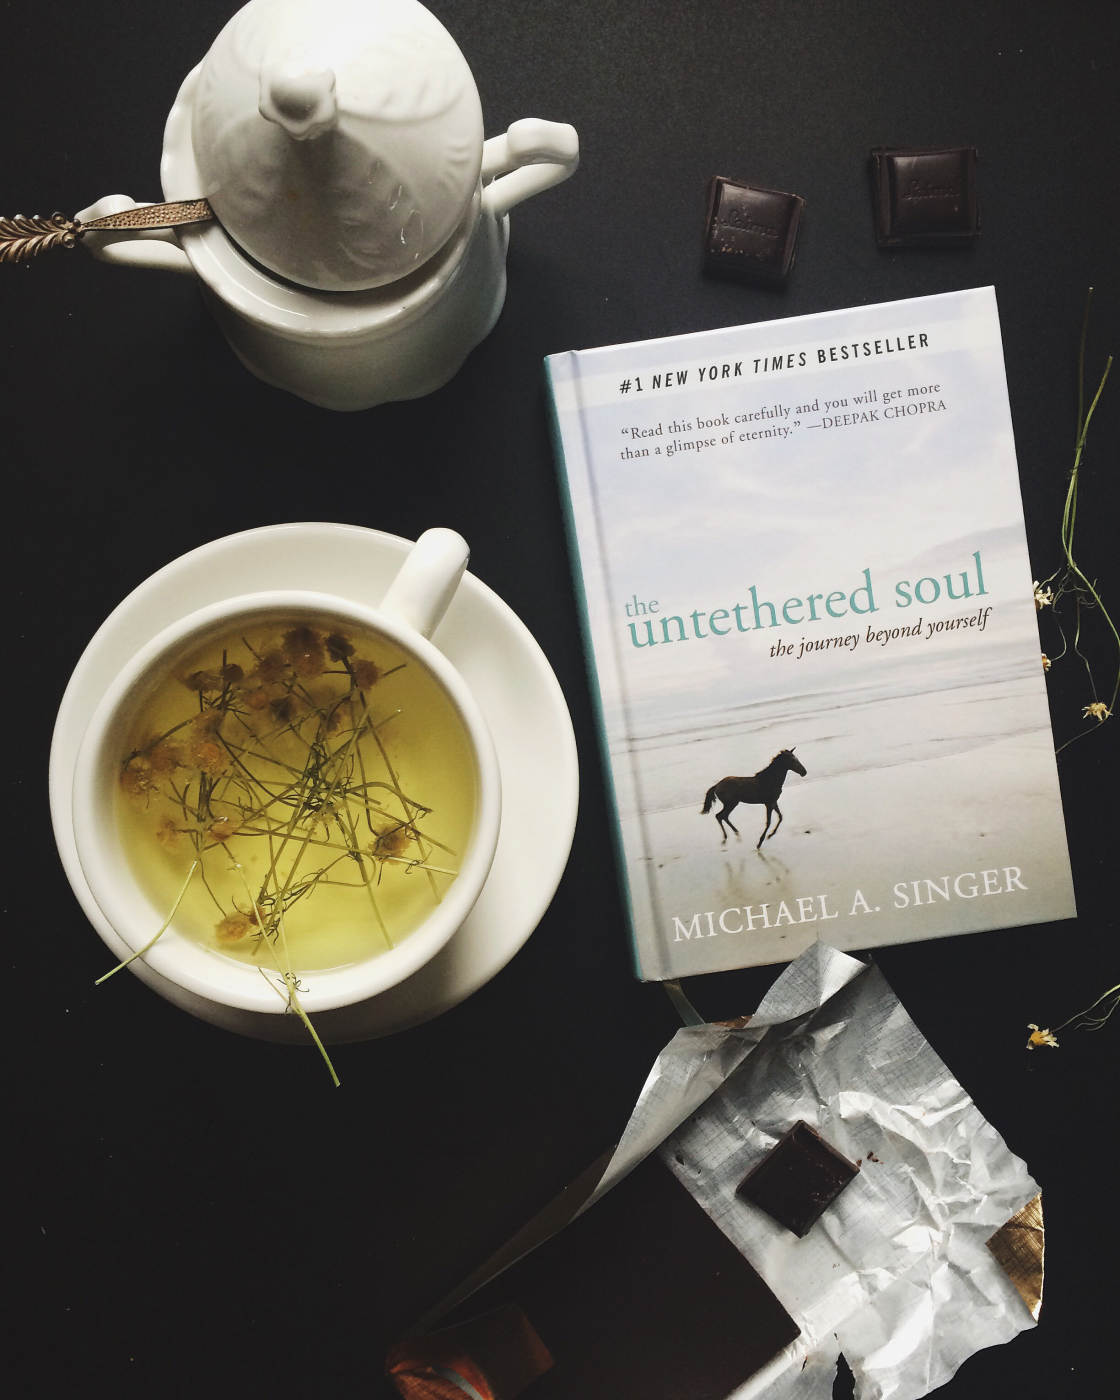
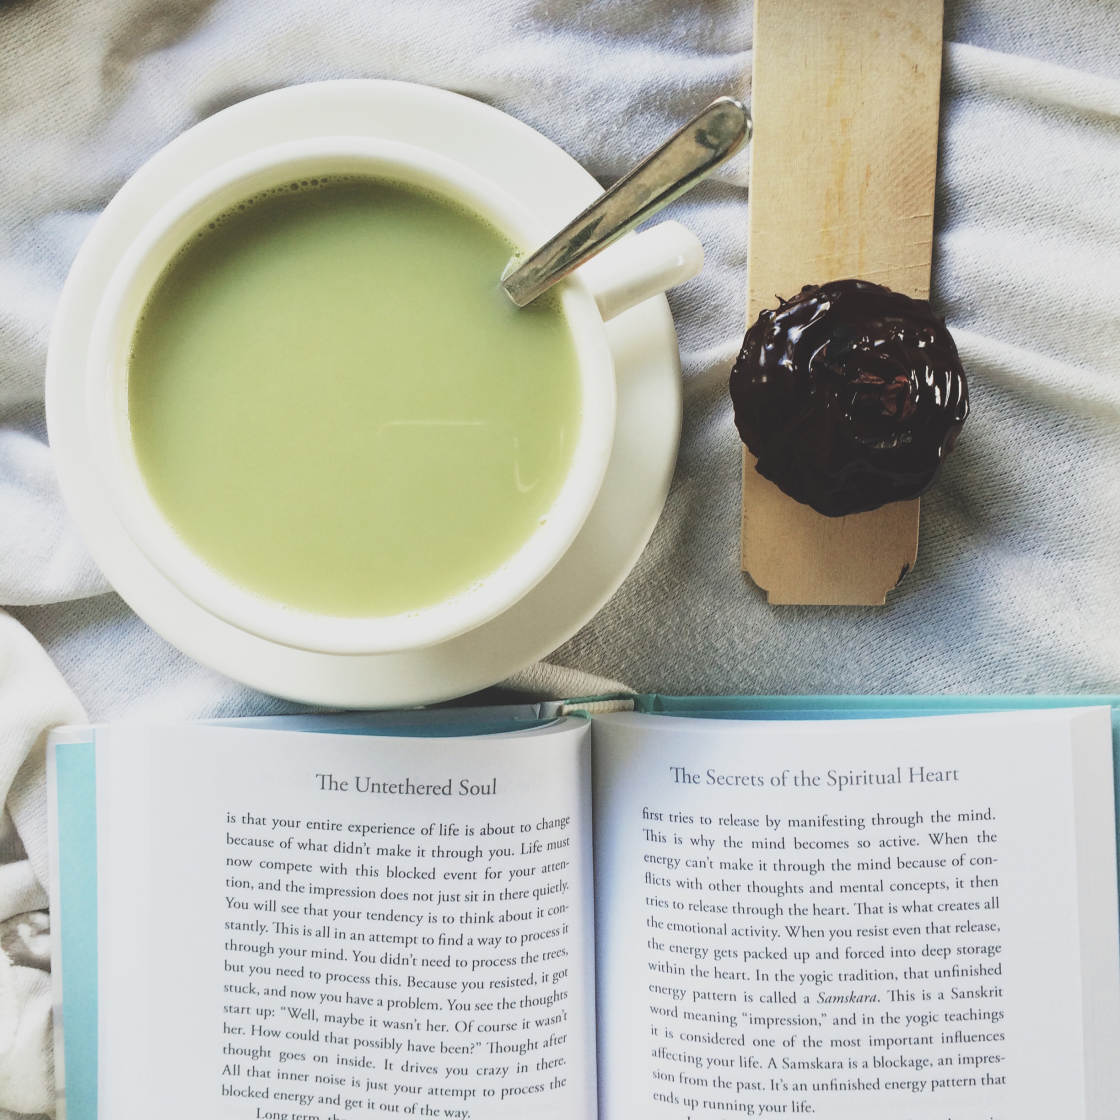
The photo below speaks of pure relaxation and indulgence to me. The camomile tea, the book, and the chunks of chocolate all help the viewer to step into the picture and imagine what it might be like to be enjoying these for themselves.
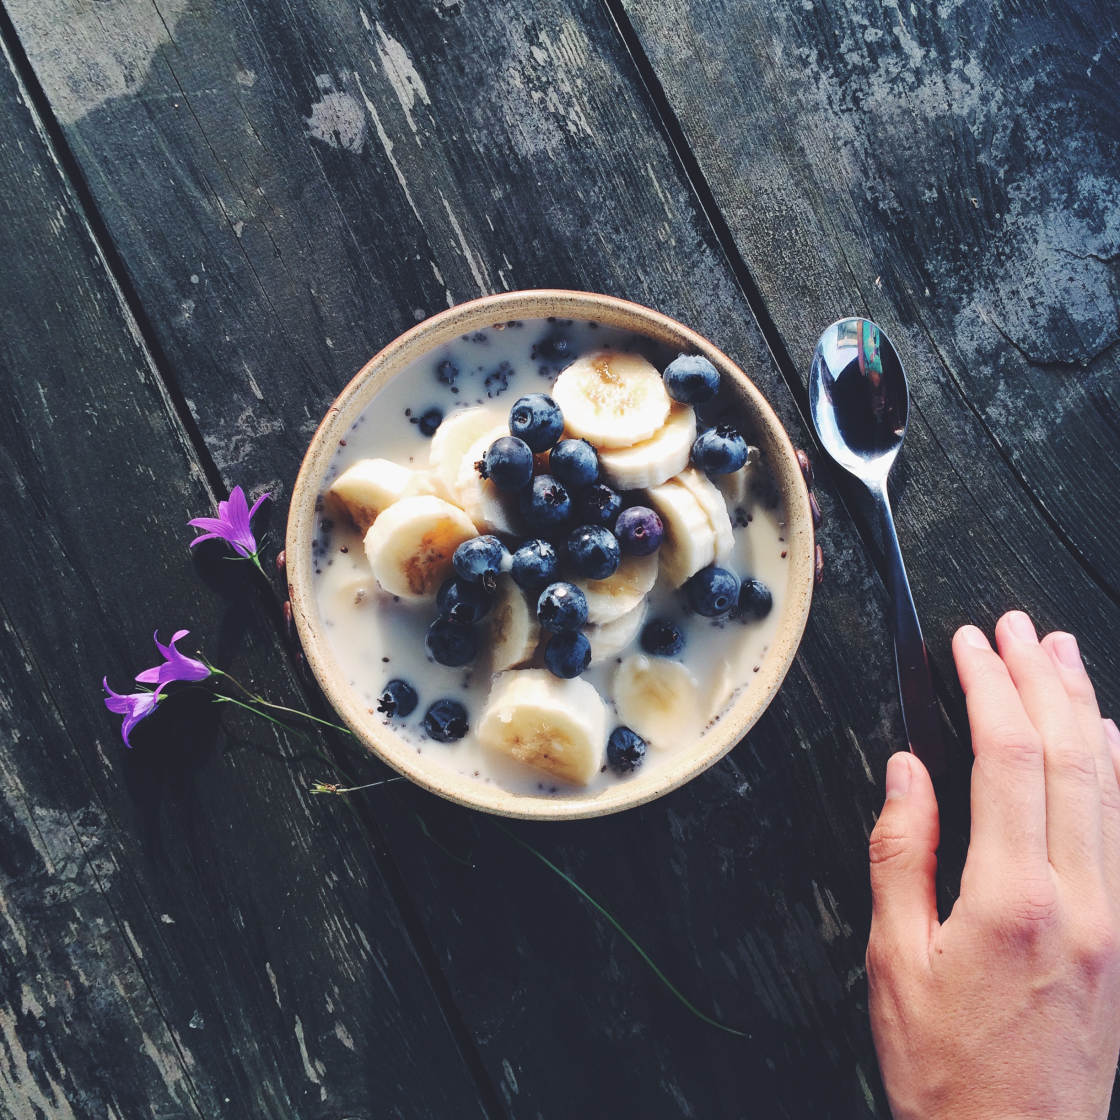
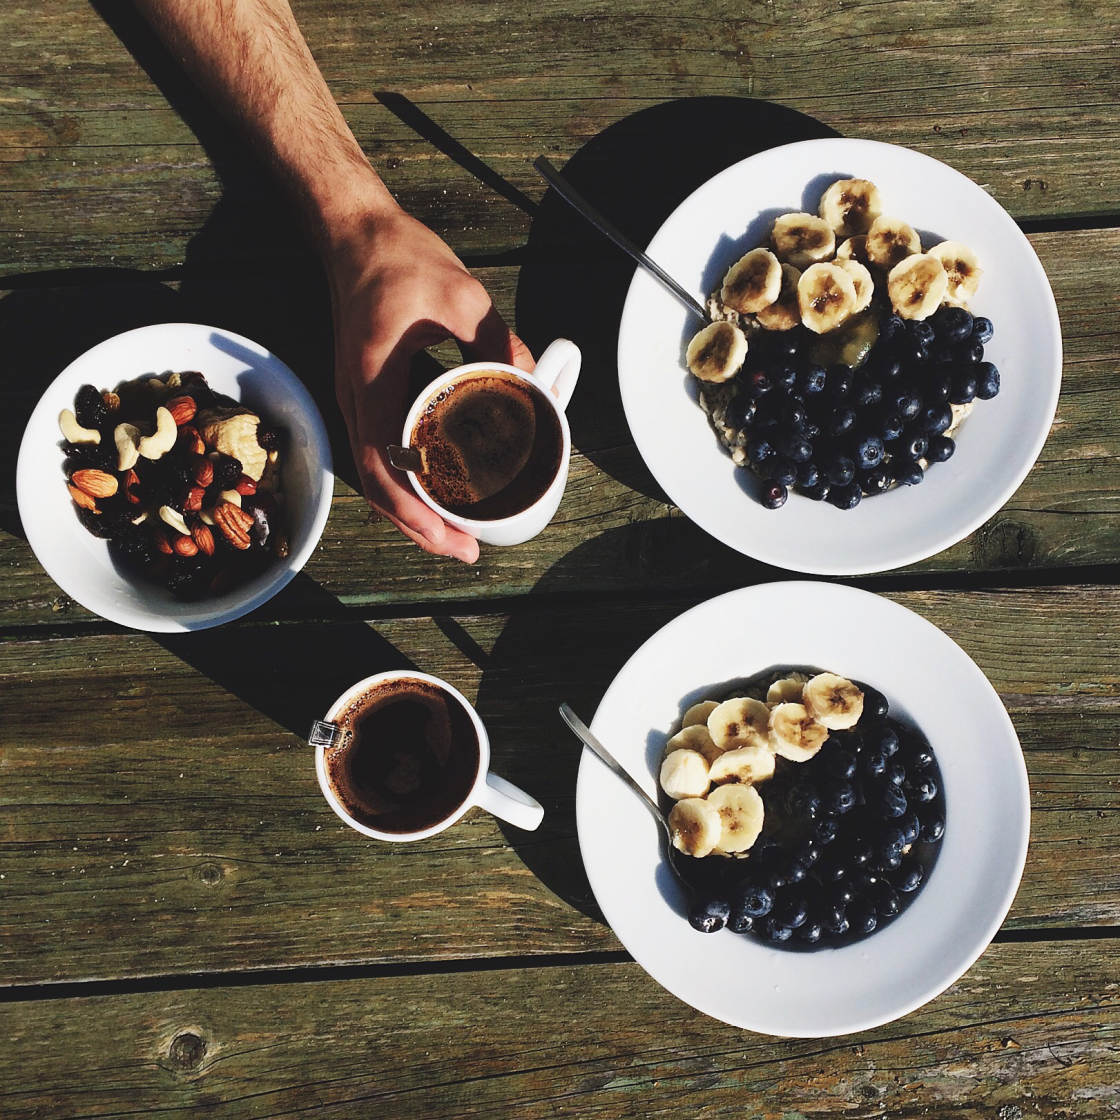
10. Add A Human Element
Adding a human element to your food photos is another technique that you can use to tell more interesting and unique stories.
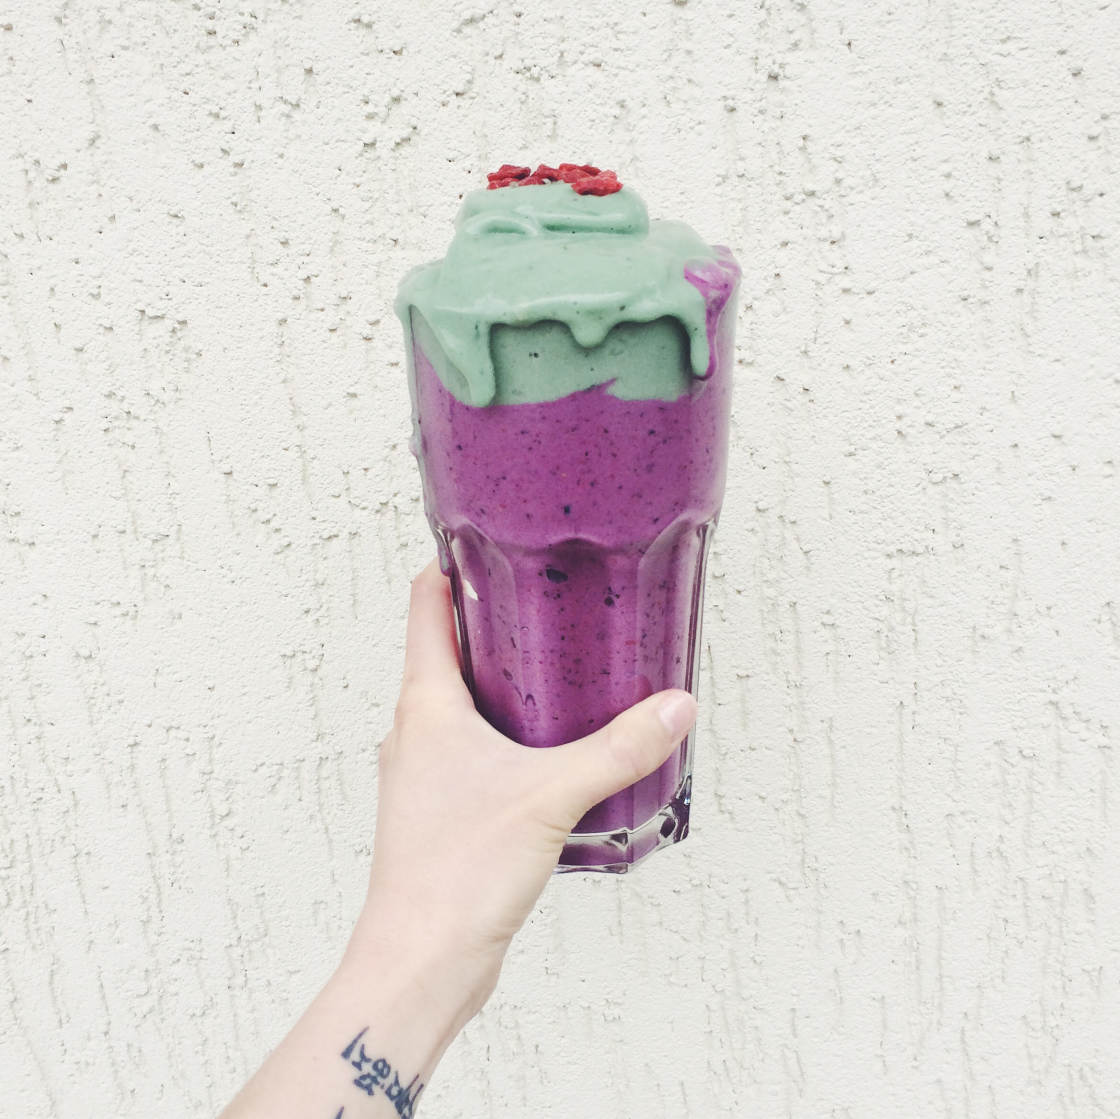
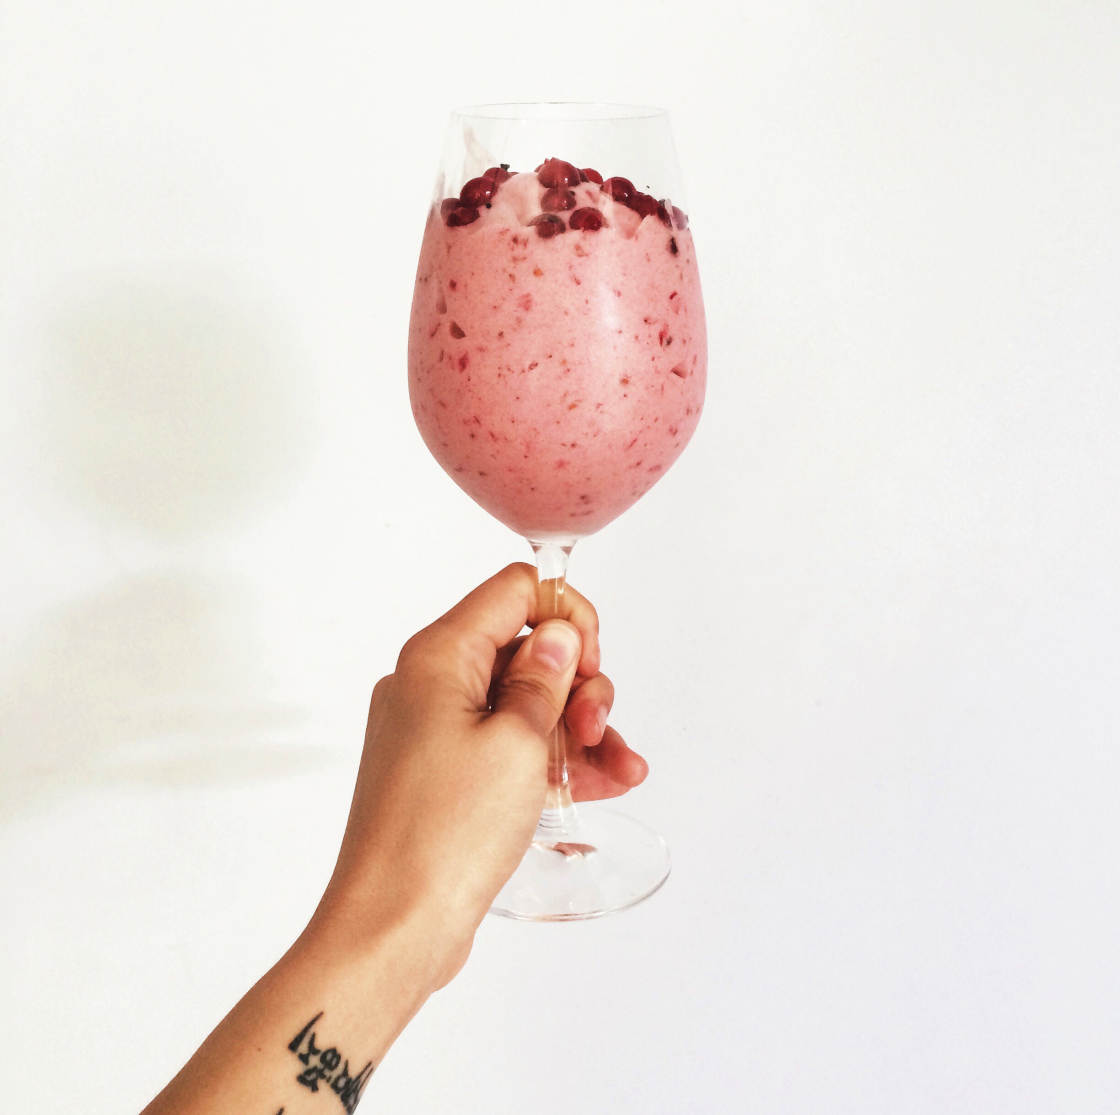
I often include my hand or arm in my food pictures. It helps to create a sense of presence for the viewer because it’s as if the photo has been captured from their point of view.

If you use this technique, you’ll have to hold your iPhone using just one hand. So take extra care to keep the iPhone steady when you press the shutter button.
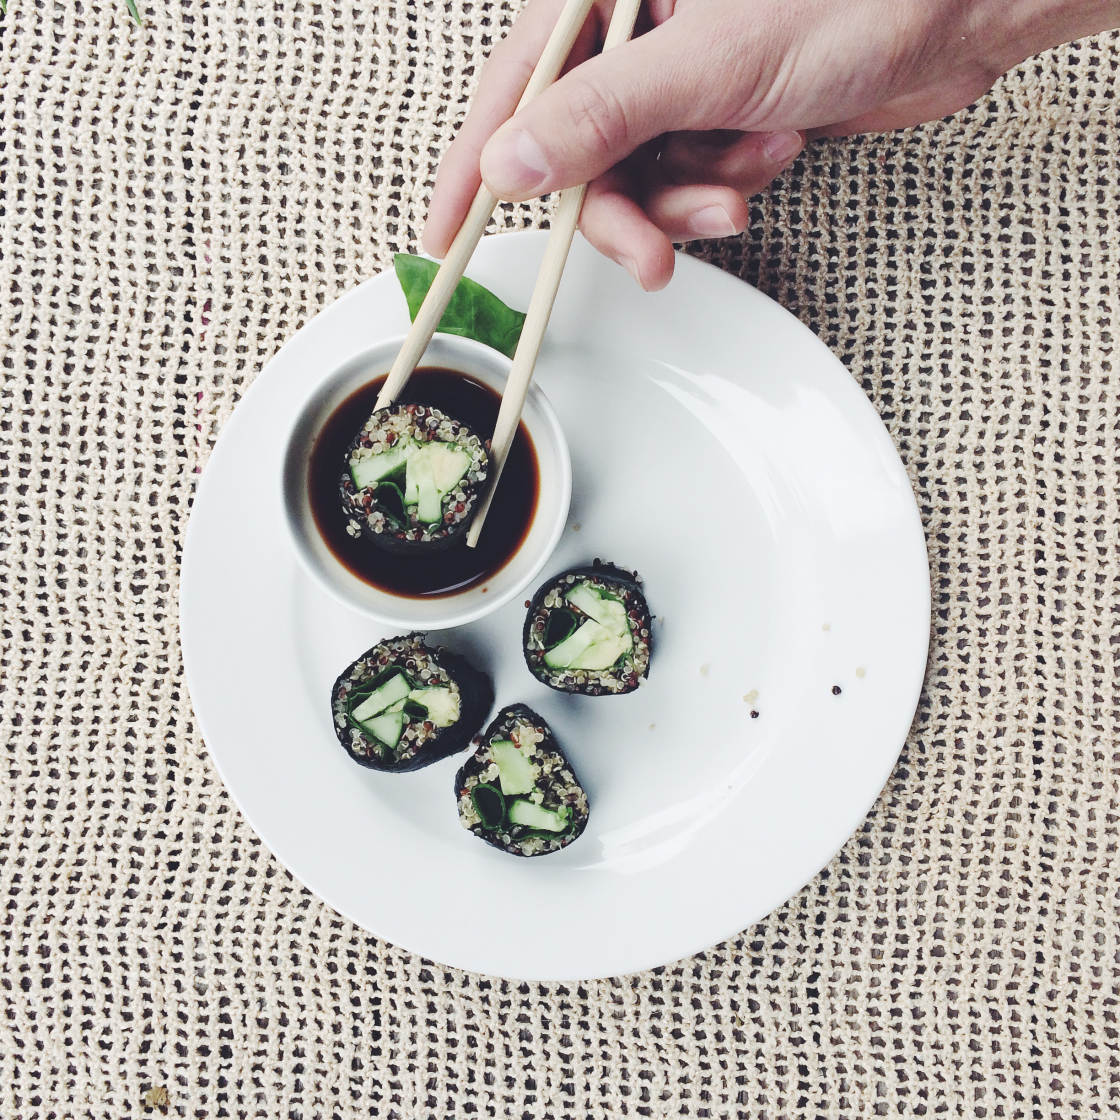
Including a person’s hand (your own or someone else’s) using cutlery within the scene can help to create a sense of movement in an otherwise static scene.
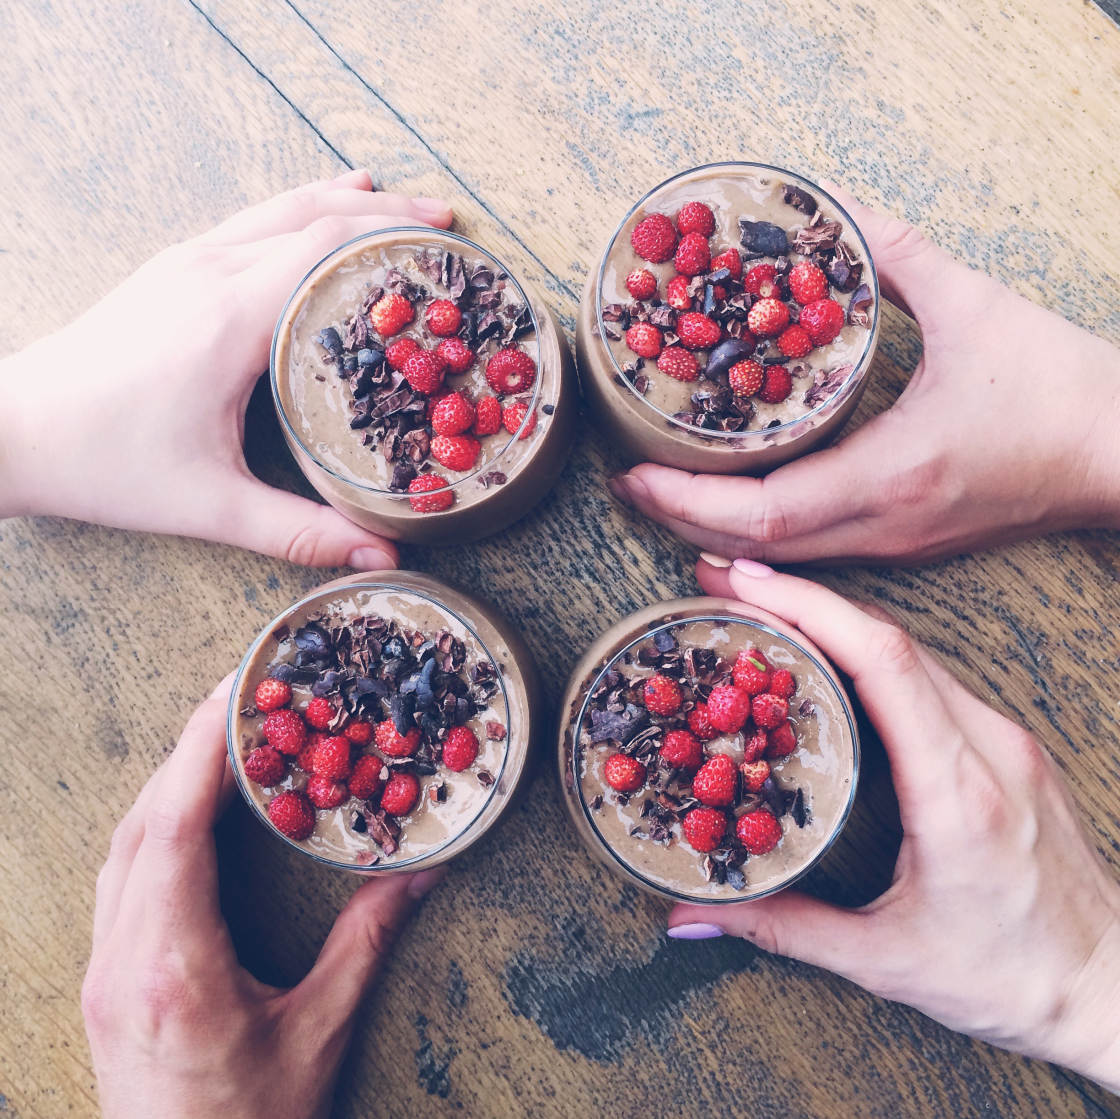
If you have company, why not include everyone’s hand in the scene? This can tell a story of friendship and happiness brought about by the sharing of delicious food.
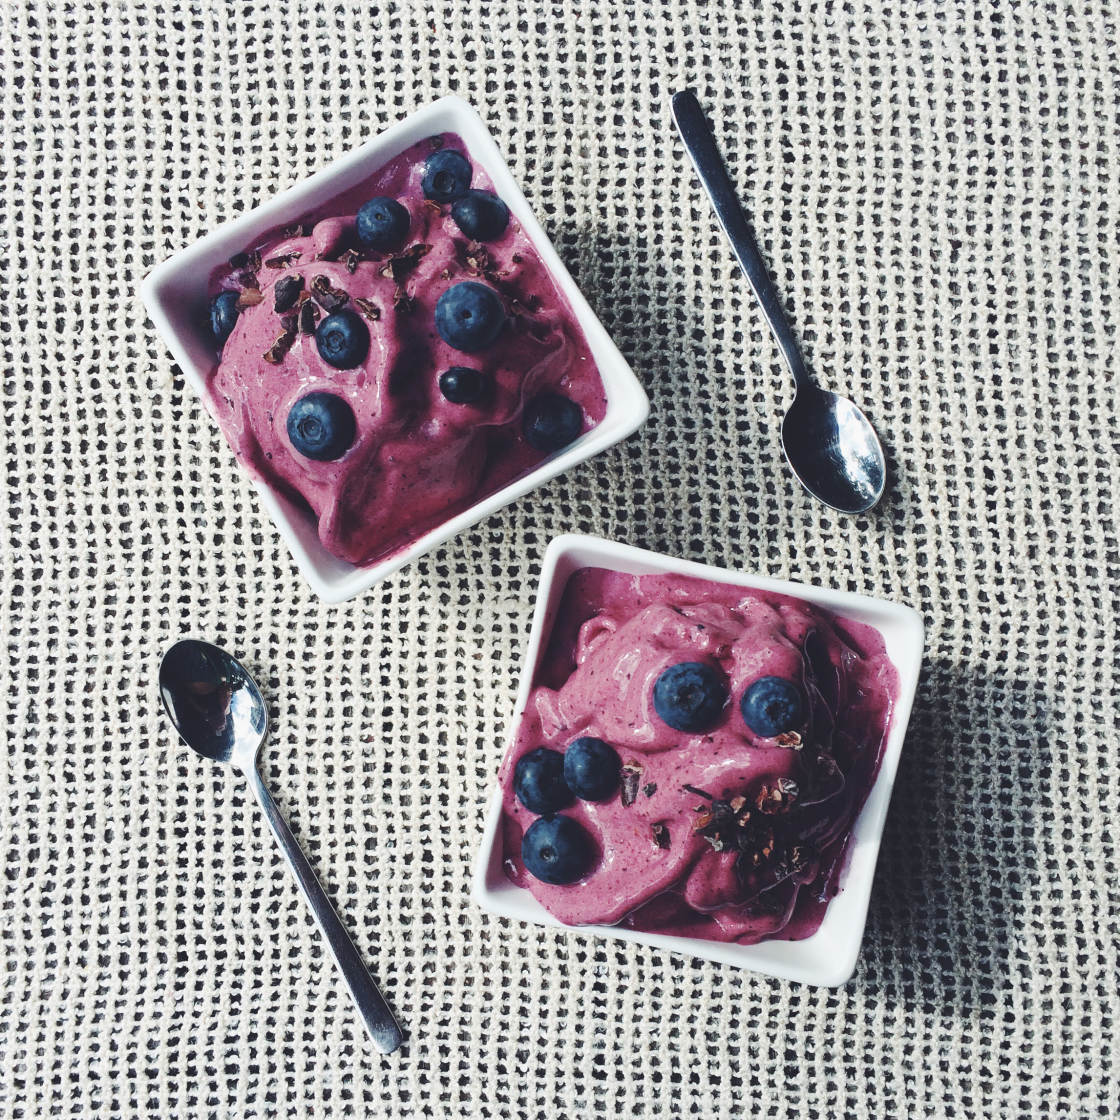
11. Keep It Simple
We’ve talked a lot about different kinds of decorations that you can use to enhance your composition, but sometimes the best option is to keep it really simple.
If your food subject has a bold color and shape, and you have a contrasting colored background, a simple minimalist composition can often create the strongest impact.
For the strongest visual impact, position your subject perfectly central within the frame, and don’t use any heavy decorations.
It’s usually best to avoid using patterned or brightly colored plates, dishes and cups. Simple white china is often the best option as it won’t compete for attention with the food.
If you’re shooting close-ups of food, you don’t tend to need any additional decorations in the scene.

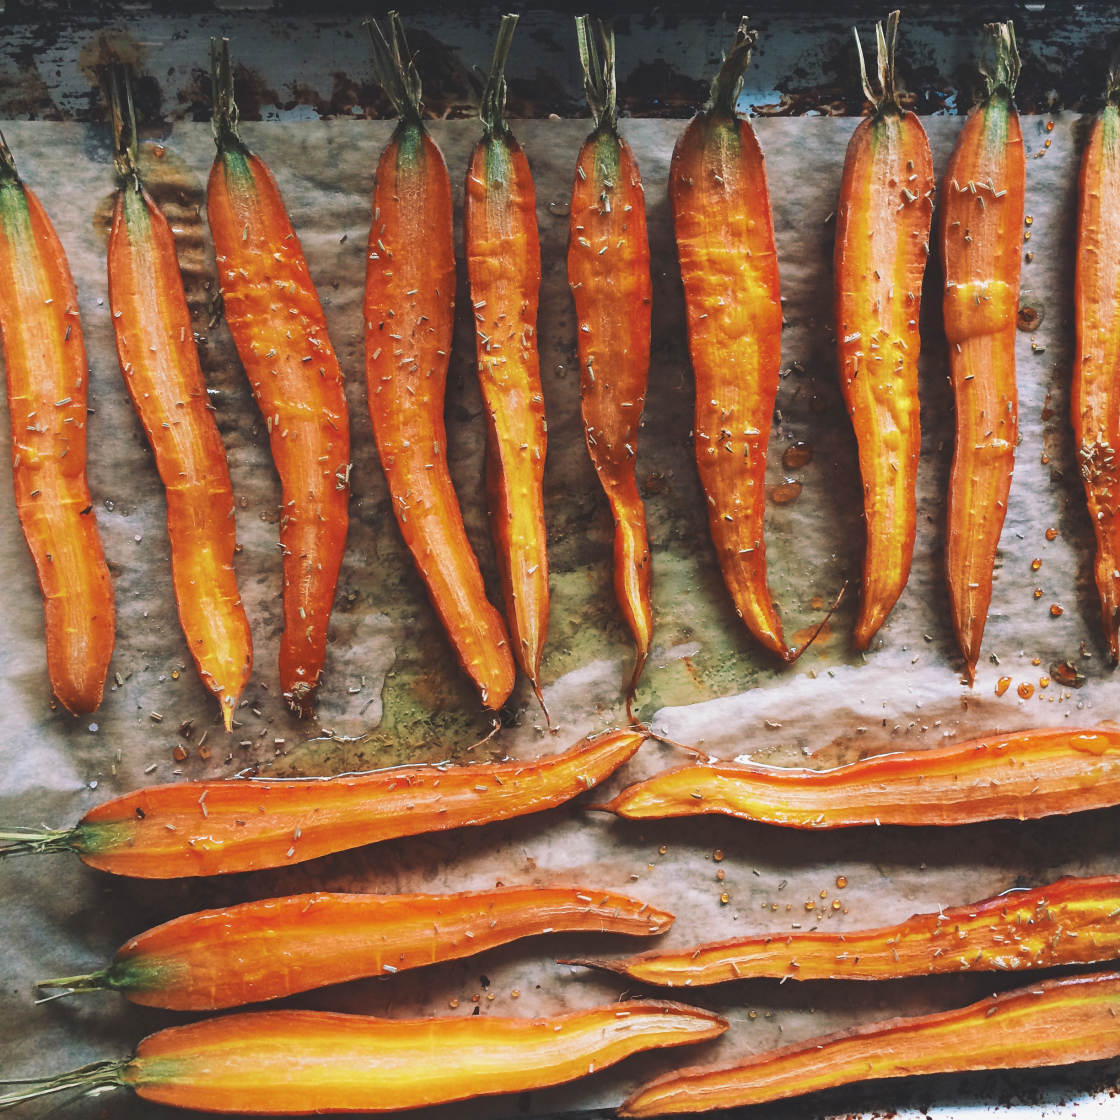
The impact of the color and texture of these baked pumpkins would be diluted if additional elements were included in the composition. In photography, less is often more.
12. Expose For The Highlights
When you’ve composed your shot with the elements and lighting that you want, there’s one final thing you should do before you press the shutter button… and that’s to adjust the camera’s exposure level.
Exposure simply refers to the brightness of the image. The main exposure problem that occurs in food photography is that white plates and backgrounds can appear over-exposed (too bright with no visible detail).
To avoid over-exposure, you should always expose for the highlights. This just means that you set the exposure levels so that you can see some detail in the brightest areas of the scene.
To adjust the exposure in the iPhone’s camera app, start by tapping to set focus on the area you want to appear sharp. Then simply slide your finger up or down on the screen.
Slide up to increase exposure and make the image brighter, or down to decrease exposure and make the image darker.
The biggest problem that you’ll face with exposure is when shooting high contrast scenes, for example, when shooting a white plate on a black background.
The contrast is so strong that the camera will struggle to maintain detail in both the highlights (bright areas) and the shadows (dark areas). Either the highlights will be over-exposed or the shadows will be under-exposed.
In such cases, it’s better to set the exposure for the highlights, then you can always brighten up the shadows in post-processing. It’s much harder, if not impossible, to bring back detail in over-exposed highlights.
With this in mind, you’ll get better exposure results if you don’t have too much contrast between dark and light in your scene.
13. Enhance The Colors With Editing
Food comes in so many wonderful colors, but sometimes your iPhone doesn’t capture them quite the way you wanted.
Maybe you’d prefer the colors to be more vivid, or perhaps they’d look better if they appeared slightly more muted.
You can easily adjust the colors after you’ve taken the shot by using a photo editing app. One of my favorite apps for editing my food photos is VSCO.
VSCO is one of the best photo filter apps for iPhone. It has a huge variety of “one-tap” filters that are very easy to use, as well as individual adjustment tools that allow you to fine-tune color and exposure.
I usually start by going through the filters carefully until I find one that enhances the colors and mood of the image. Filters that make the colors more vivid will add vibrancy and excitement.
Filters that add fade and make the colors more muted tend to create a more subdued mood, making the overall picture “softer.”
If you don’t like to use filters, you can use the individual adjustment tools to adjust settings such as color saturation, temperature, tint, and fade.
These adjustments can help you to fine-tune the colors in your food photos until you achieve just the look that you want.